How to Create a Security Bot
This guide will walk you through the process of creating a security bot in autobotAI to automate the task of removing unused EC2 key pairs.
Prerequisites:
- An active autobotAI account
- An AWS account with the necessary permissions for EC2
Steps to Create a Security Bot
1. Log In to autobotAI
- Access your autobotAI account.
2. Navigate to Bots
- In the autobotAI interface, select Action Resources, then choose Bots from the dropdown menu.

3. View Available Bots
- The bots page will display all available bots in your workspace.
4. Create a New Bot
- Click the + New button at the top-right corner of the page to create a new bot.
5. Configure the Bot Workflow
- In the workflow editor:
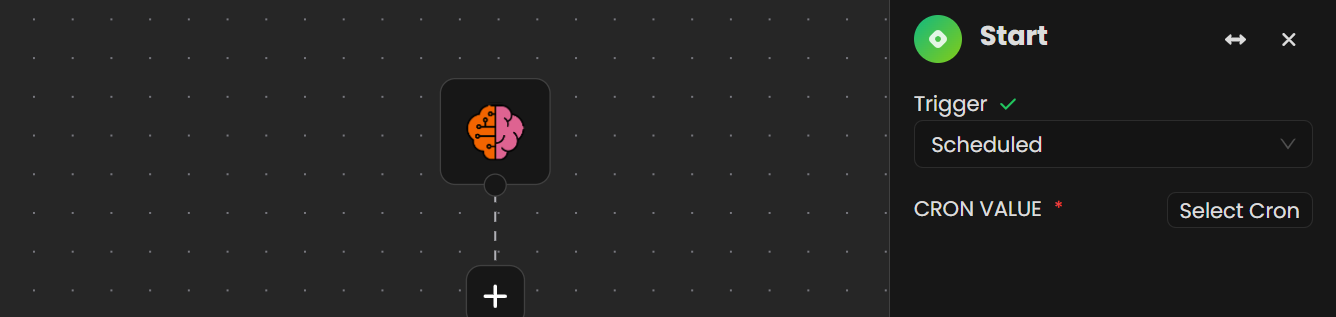
- Select the autobotAI icon to choose a trigger. You can pick from Scheduled or Event-driven triggers. For this example, we’ll use Scheduled.
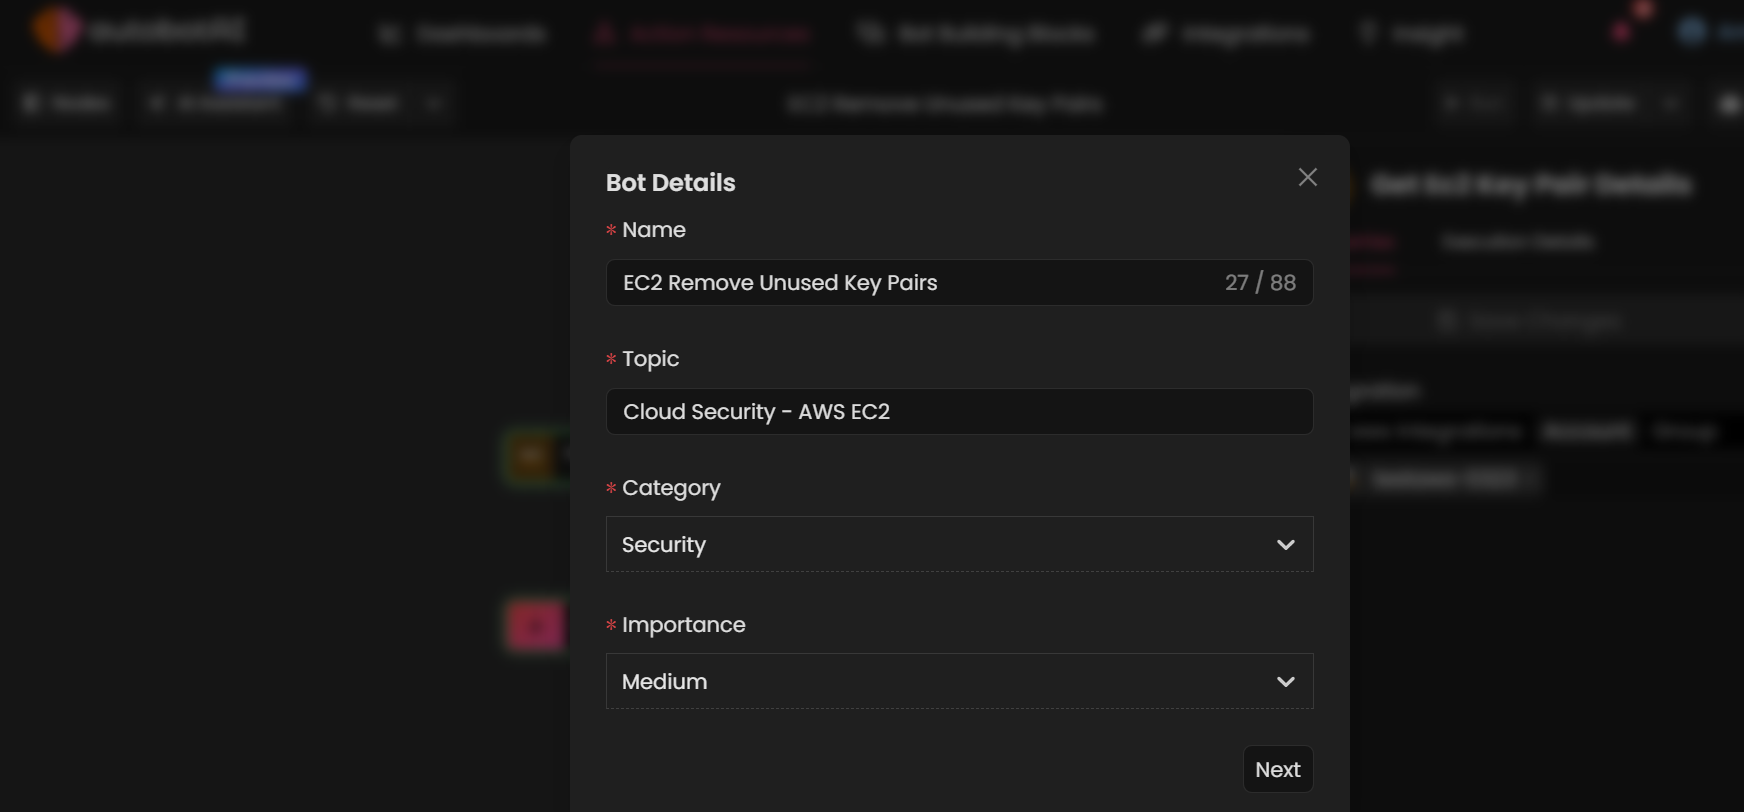
- Click Bot Details at the top-right corner.
- Fill in the bot details:
- Name: Provide a descriptive name, such as
EC2 Remove Unused Key Pairs. - Topic: Choose a relevant topic, such as
Cloud Security - AWS EC2. - Category: Select Security.
- Importance: Set an appropriate importance level.
- Provide additional details such as tags, description, and permissions.
- Name: Provide a descriptive name, such as
- Select the autobotAI icon to choose a trigger. You can pick from Scheduled or Event-driven triggers. For this example, we’ll use Scheduled.
6. Complete Bot Configuration
- Once the details are filled out, click Finish to finalize the bot’s basic configuration.
7. Add Actions to the Workflow
- From the Actions menu, drag and drop actions into the workflow. You can include:
- Low-code options, such as Steampipe queries.
- Predefined low-code nodes for simplified drag-and-drop configuration.
- Full-code actions, such as Python scripts, for advanced customizations.
8. Modify Actions
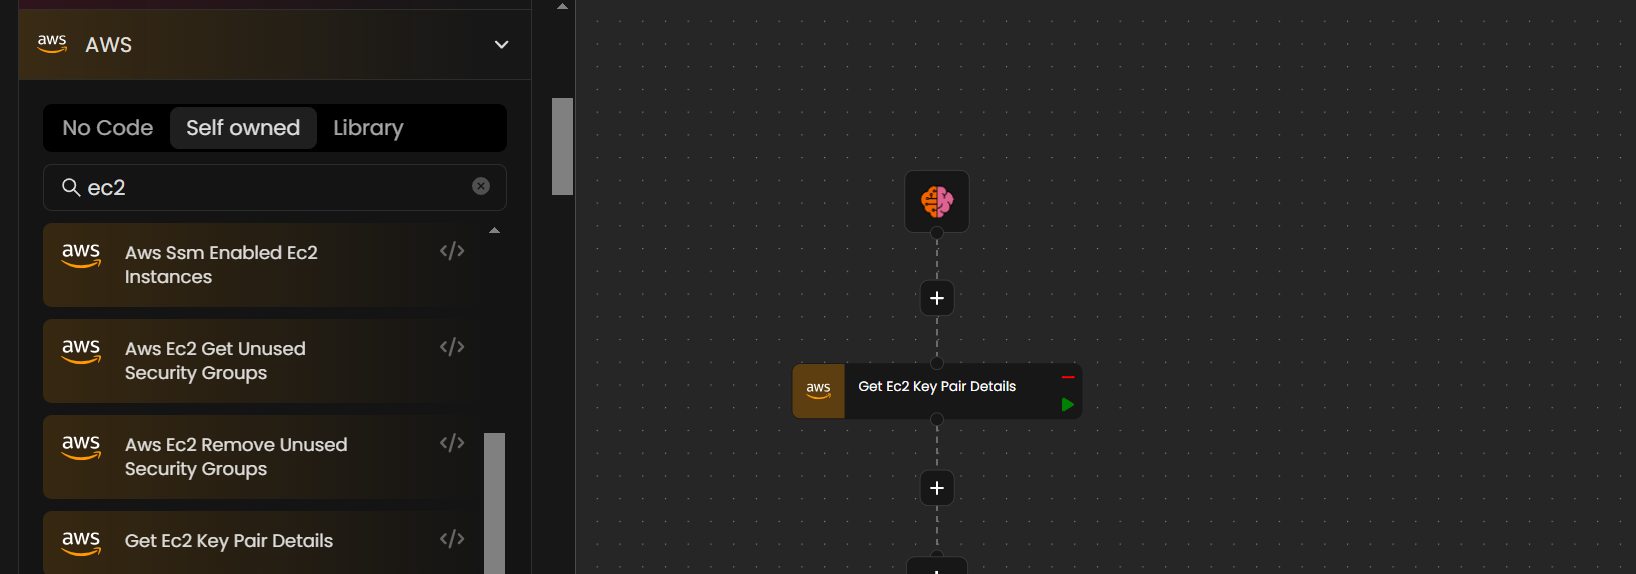
- For example, to get EC2 key pair details in your AWS account:
-
Under Actions, search for AWS, select 'self-owned', then search for EC2.
-
Drag the action into the workflow, click Modify, and select the relevant integration.
-
9. Add Additional Workflow Nodes
- To extend the workflow, drag more actions into the workspace as needed.
10. Set Up Conditions
- To filter unused EC2 key pairs, add a Condition node:
- Click + Rule and configure the condition:
- In the first dropdown, select type to access the JSON paths in the query builder. Choose the relevant field by clicking on the
+symbol.Note: Make sure to run the previous action before selecting the JSON path in the query builder.
- Set the second dropdown to equal.
- Enter
Truein the third field to filter EC2 key pairs.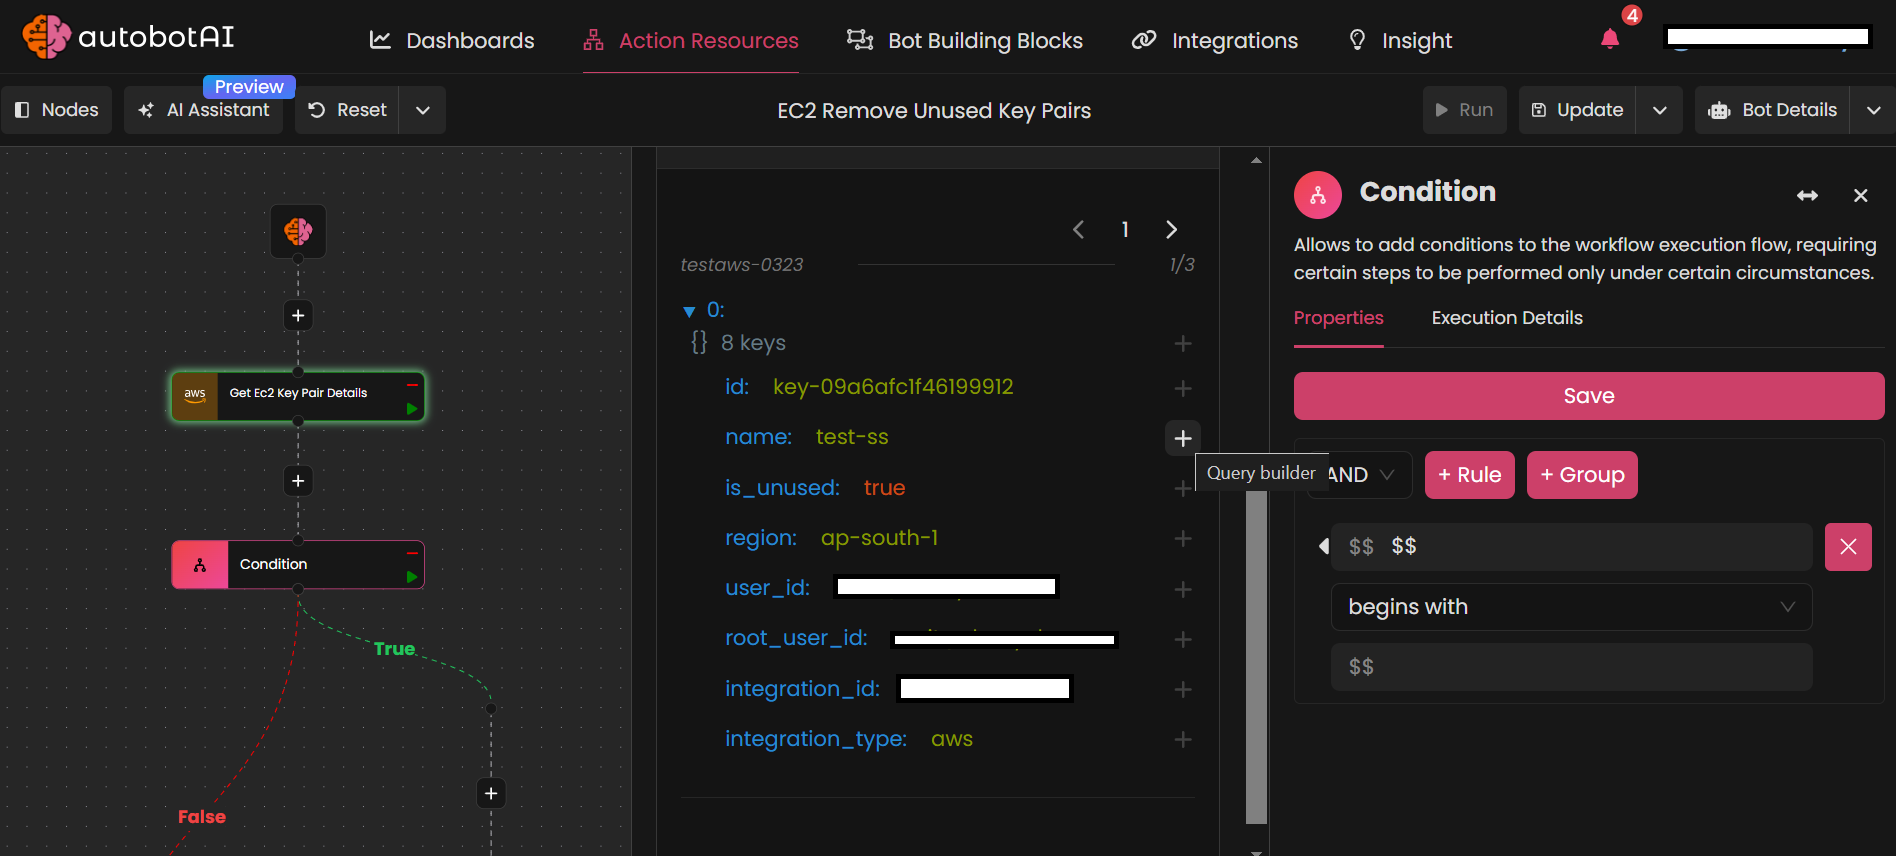
- In the first dropdown, select type to access the JSON paths in the query builder. Choose the relevant field by clicking on the
- Click + Rule and configure the condition:
11. Confirm the Rule
- Click Save Changes to apply the condition.
To learn more about how the condition node works, please visit here.
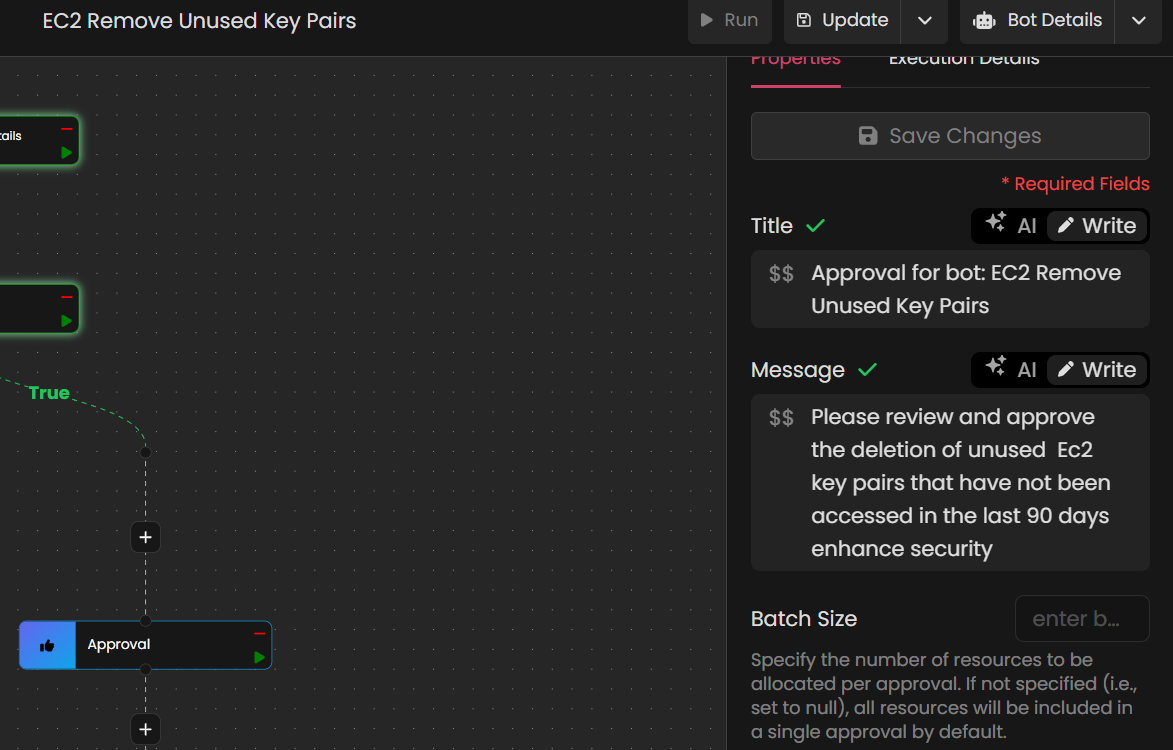
12. Add an Approval Node
-
Drag an Approval node after the condition node on the true side.
-
Configure the approval node:
- Click on the node and fill in details such as Title, Approval Message, Approvers, and Communication Channels.
To learn more about how the approval node works, please visit here.
- Click on the node and fill in details such as Title, Approval Message, Approvers, and Communication Channels.
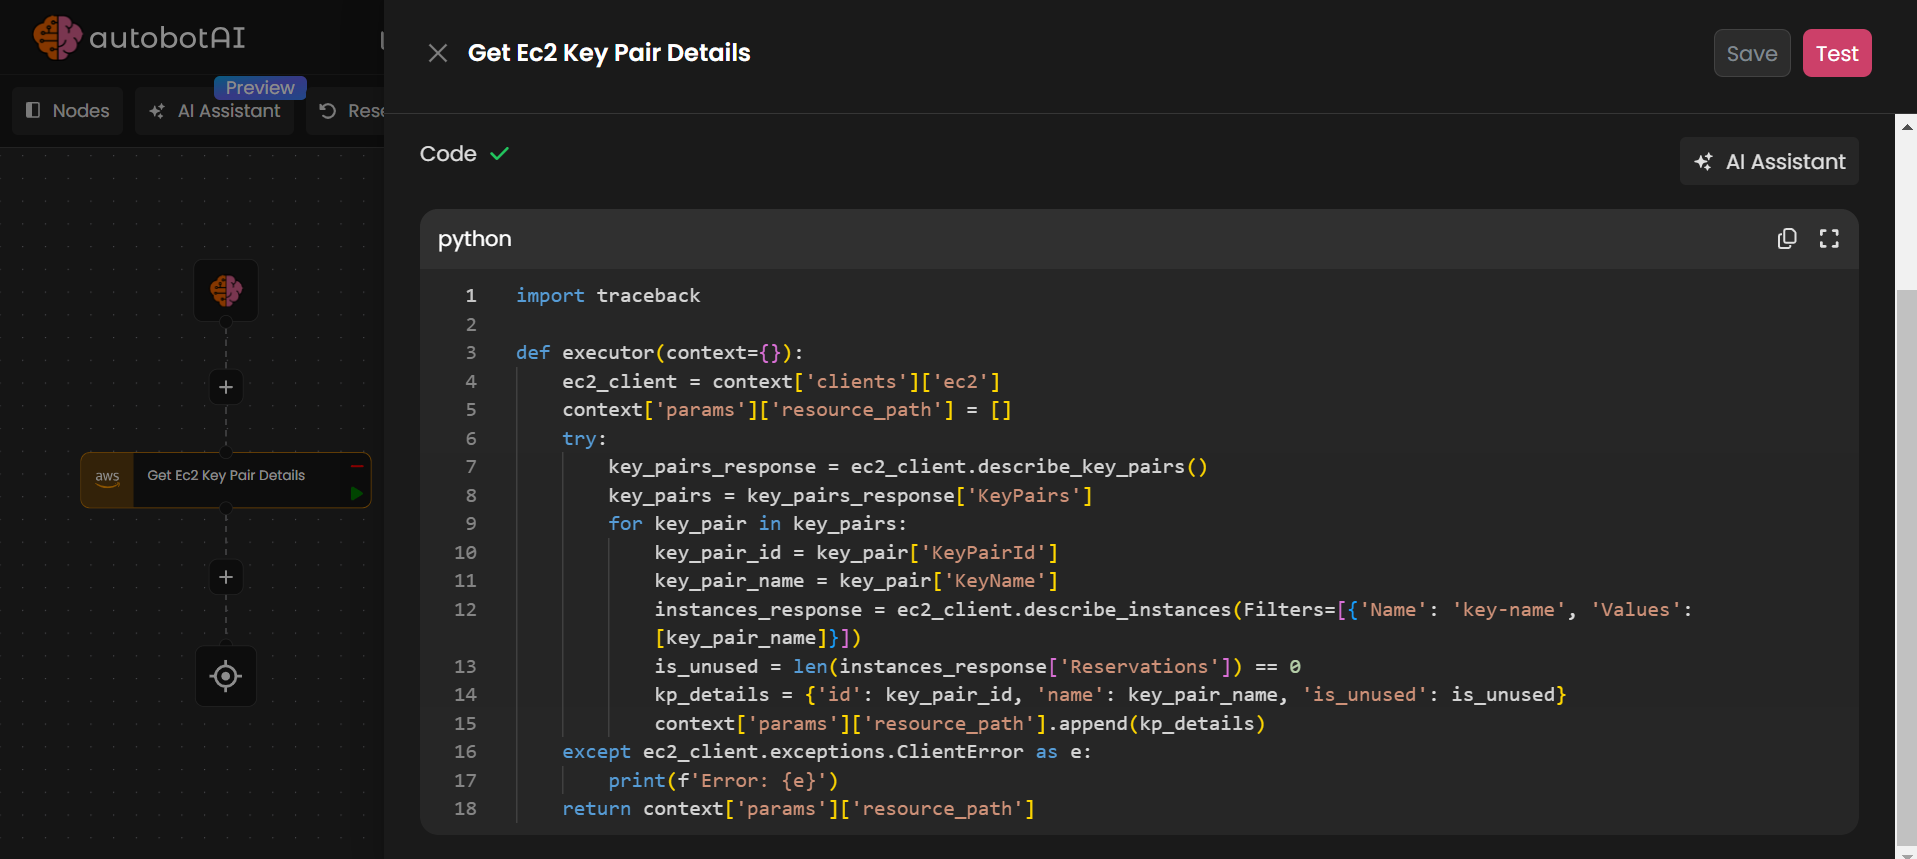
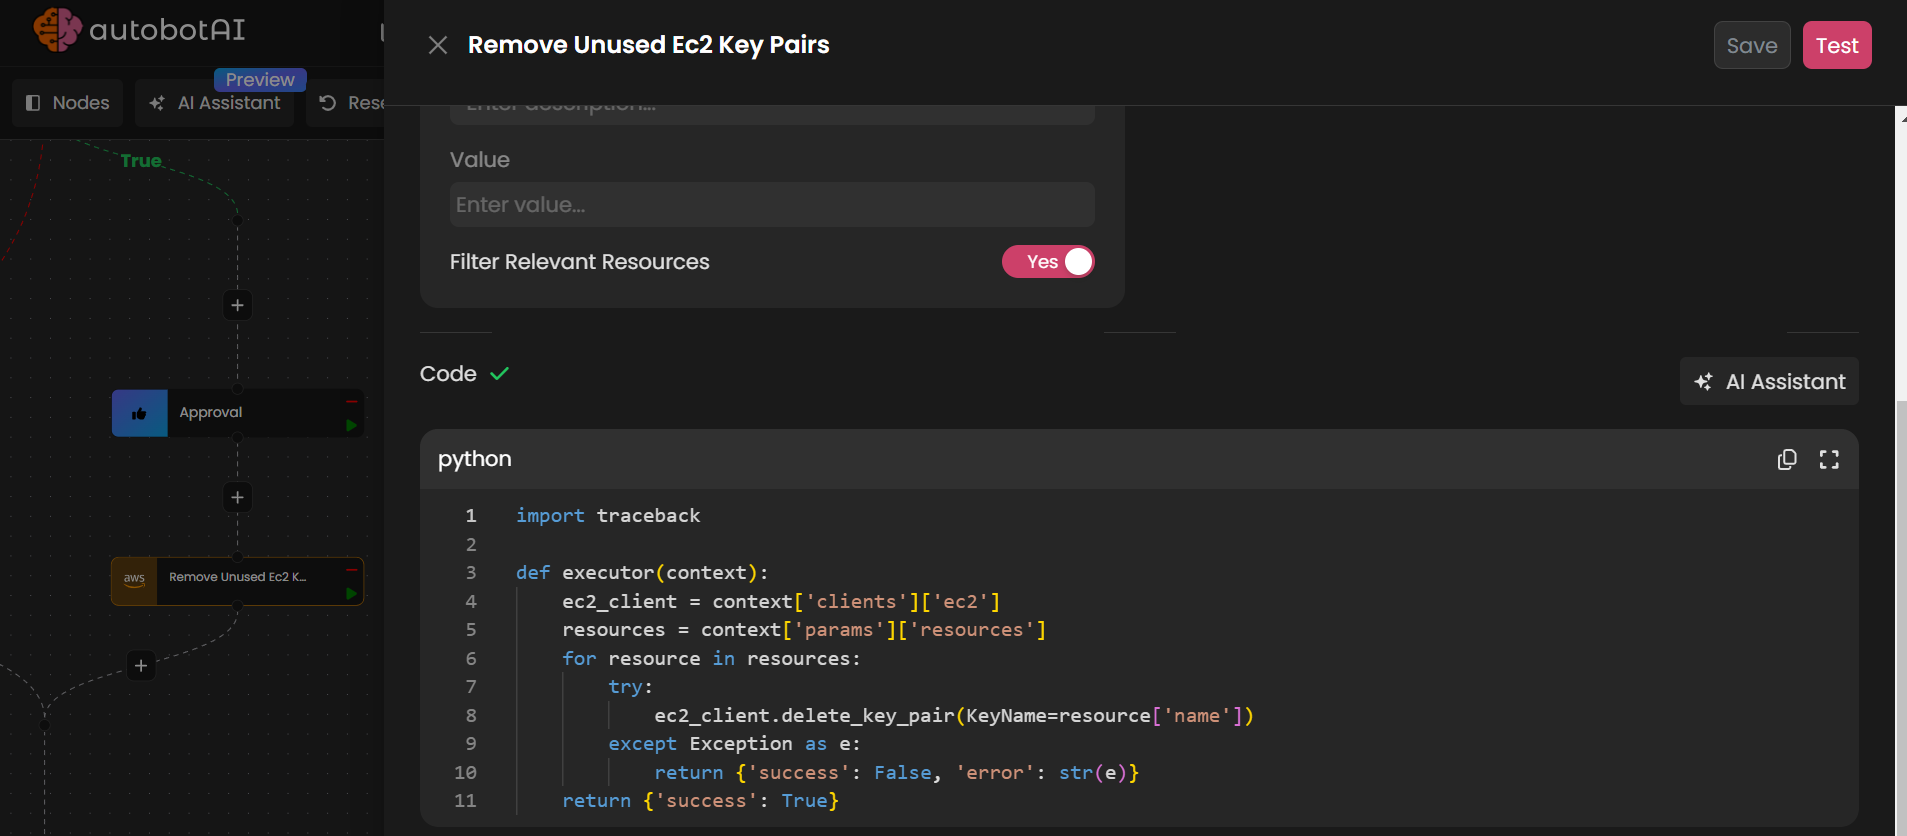
13. Add a Python Action
- To remove unused EC2 key pairs, add a Python action:
- Pass the filtered EC2 key pairs through params.
- Modify the action code if needed by selecting Modify.
14. Save the Bot
- Once all configurations are complete, click Save to save your bot.
15. Run the Bot
- Click Run to execute the bot. Upon successful execution, the bot will automatically remove unused EC2 key pairs from your AWS account.
Congratulations! Your security bot is now ready to run and help manage unused EC2 key pairs in your AWS environment.