Configuring Condition Nodes in Workflow Automation
The Condition node in autobotAI workflows allows you to implement branching logic by setting specific criteria for workflow execution. This node enables you to filter actions, ensuring that certain tasks are only processed if they meet defined conditions, making your workflows more dynamic and efficient.
Example Use Case
Use the Condition node to handle high-priority tasks specifically by setting a rule to evaluate task priority levels.
Steps to Configure a Condition Node
Follow these steps to add and configure a Condition node in your workflow:
-
Add the Condition Node
- Drag the Condition node into your workflow canvas from the node library.
-
Open the Node Configuration
- Click on the Condition node to open its configuration panel.
-
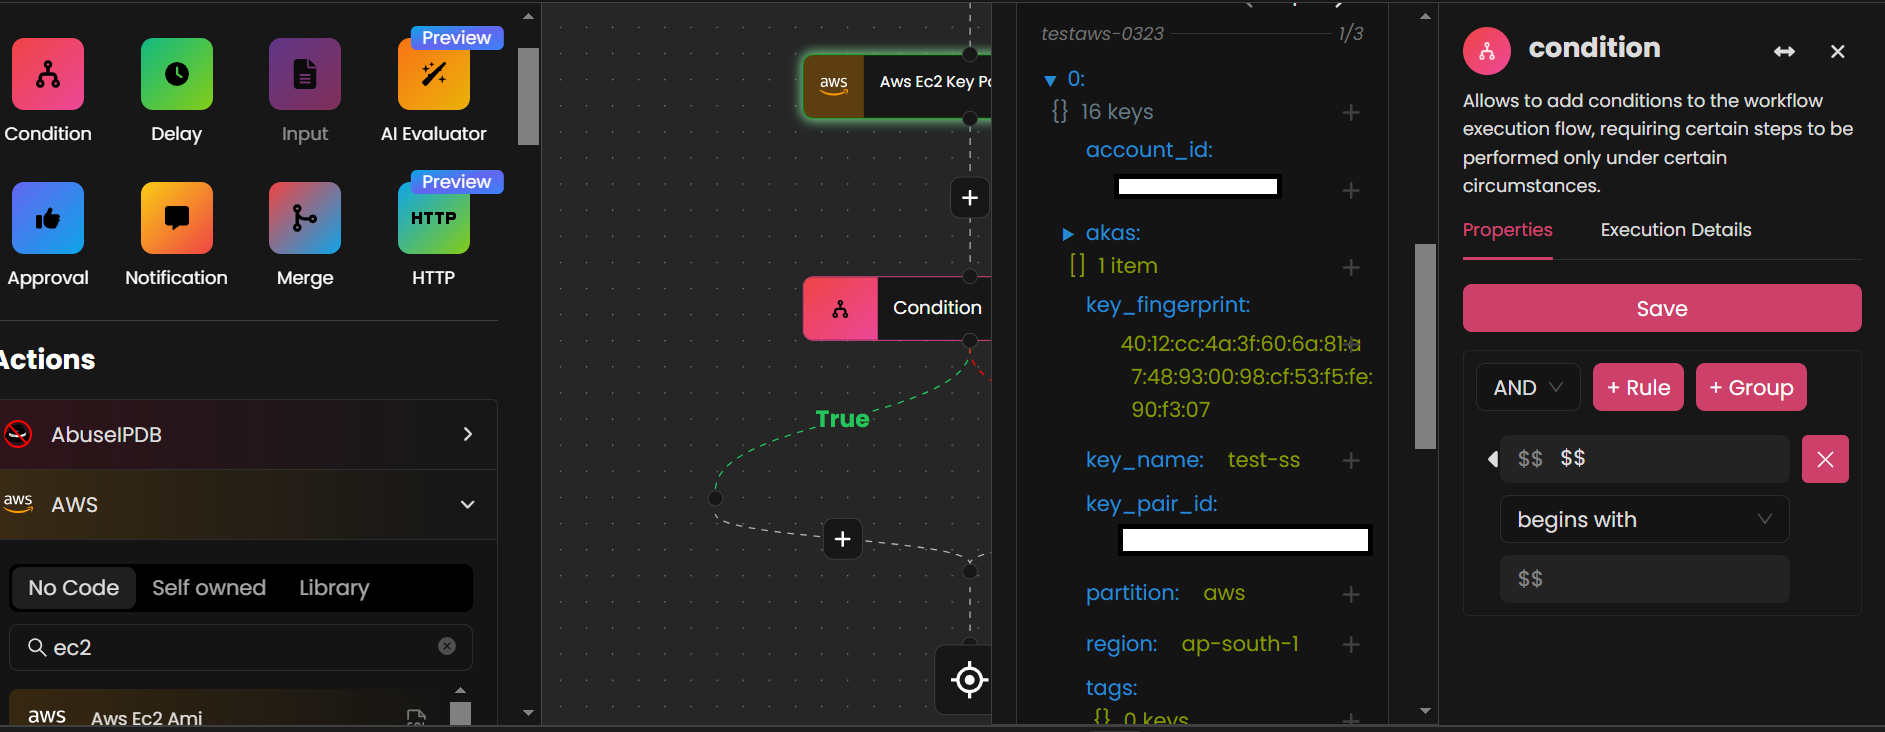
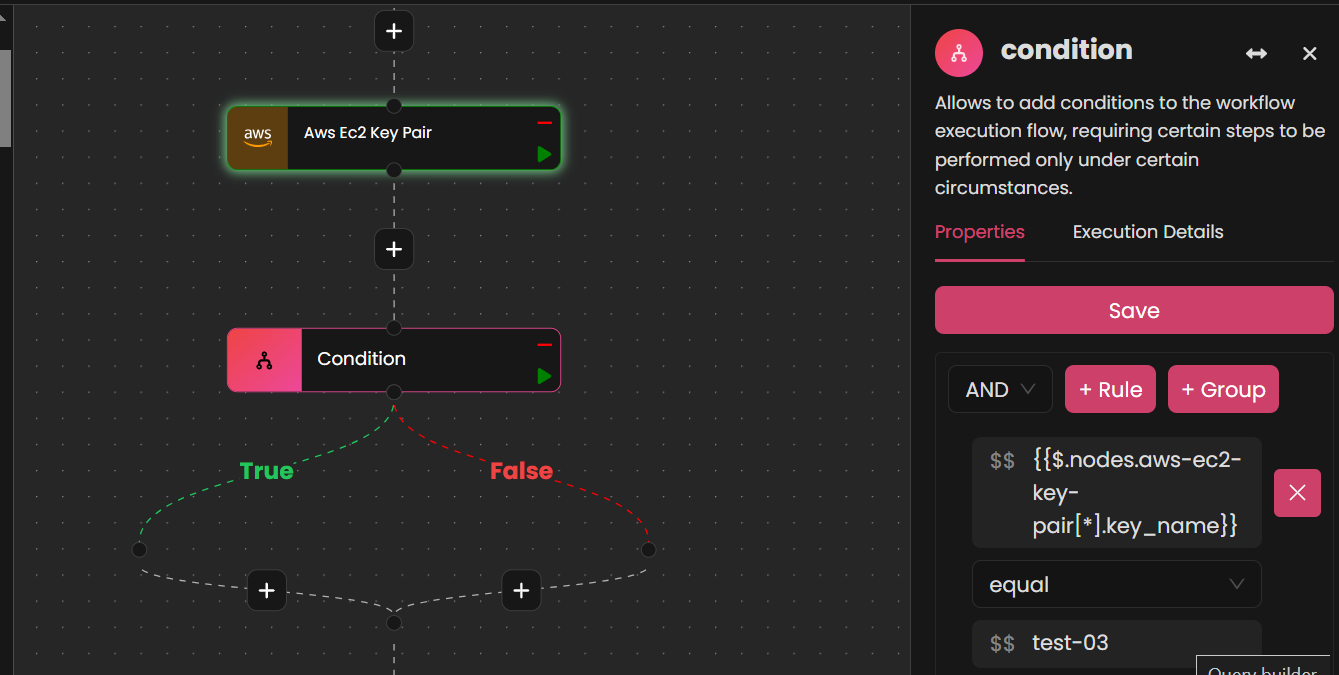
Set Up Rules
- To define a condition, click + Rule and choose between AND or OR logic for combining multiple conditions.
- Select the field to evaluate in the $$ dropdown. Choose from outputs of previous actions (e.g., key name) JSON path selector.
- Choose a comparison operator (e.g.,
equal) and provide a target value to filter resources based on this condition.

- Click Save to apply the rule.

-
Execute the Condition Node Individually
- To test this specific node, click the green run button within the Condition node interface. This will execute only the condition, allowing you to validate its functionality without running the entire workflow. Ensure that the previous actions have been successfully executed before running this node individually.
Outcome
By configuring Condition nodes, you can effectively control the workflow path based on predefined conditions, enabling more precise execution and resource filtering.
