Splunk
Overview
The Splunk integration enables autobotAI to access and manage data logs and metrics from your Splunk instance, enhancing monitoring, data analysis, and alert capabilities to provide insights into system performance and security.
This guide provides instructions for setting up the Splunk integration in your autobotAI account. By completing this process, you will connect your Splunk account and its associated resources to the platform.
Steps to Set Up Splunk Integration
Navigate to the Integrations page by selecting Integrations from the menu. Click the + Add Integration button in the top-right corner to view available integrations.

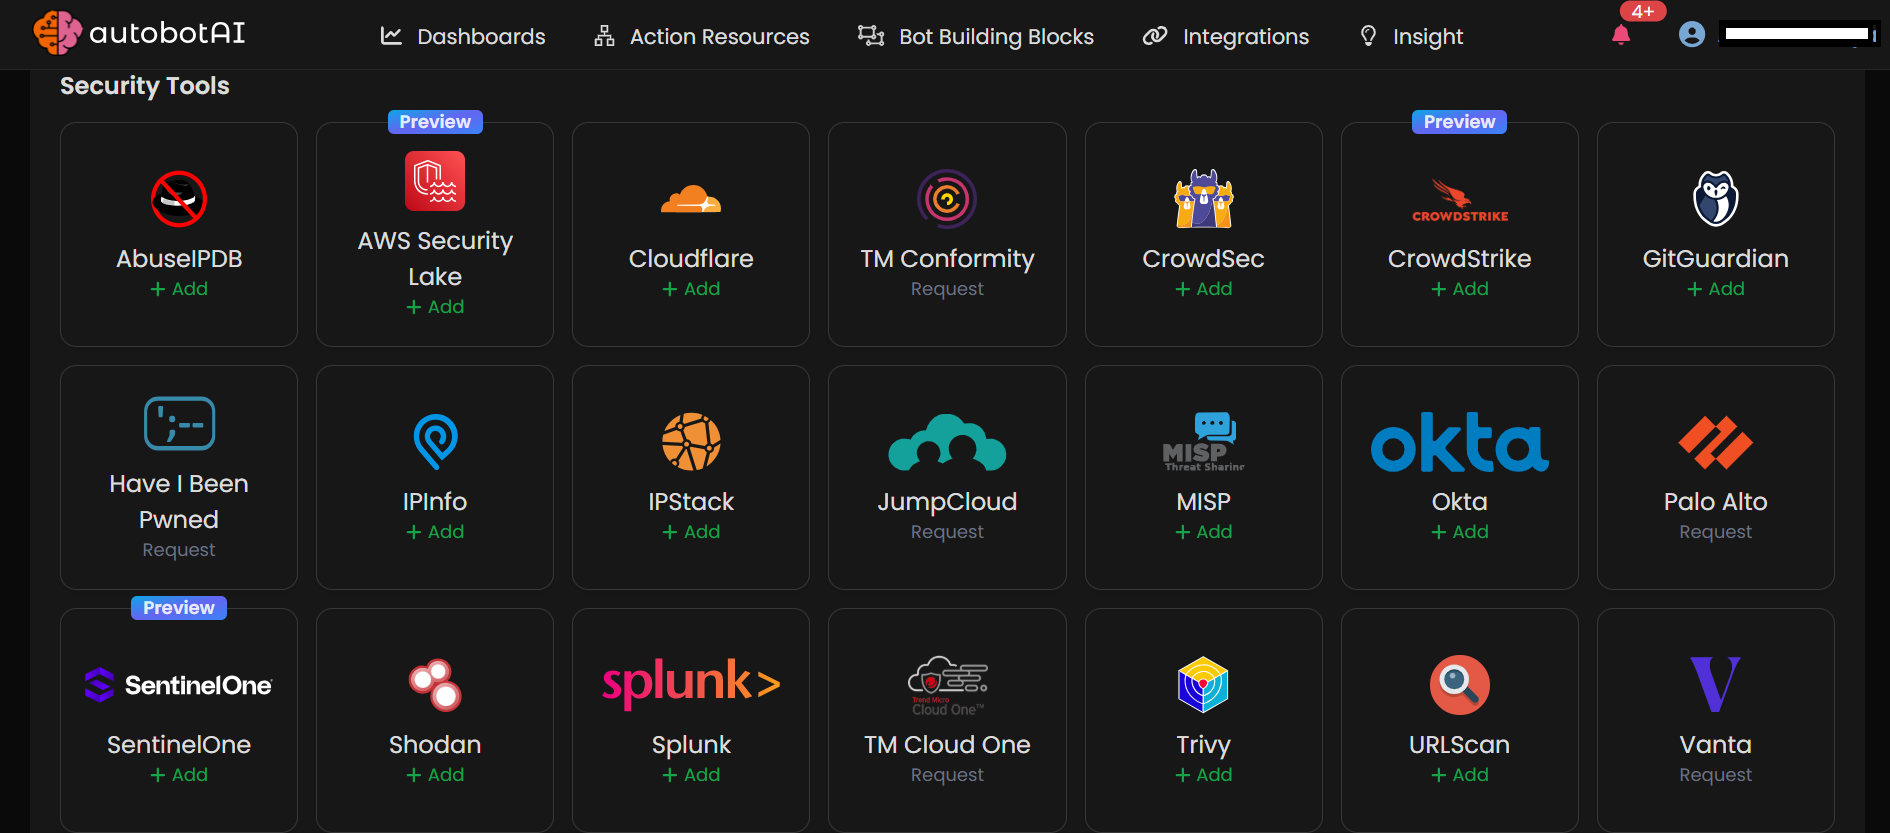
From the list, under the Security Tools section, select Splunk + Add to create the Splunk integration.

Step 3:
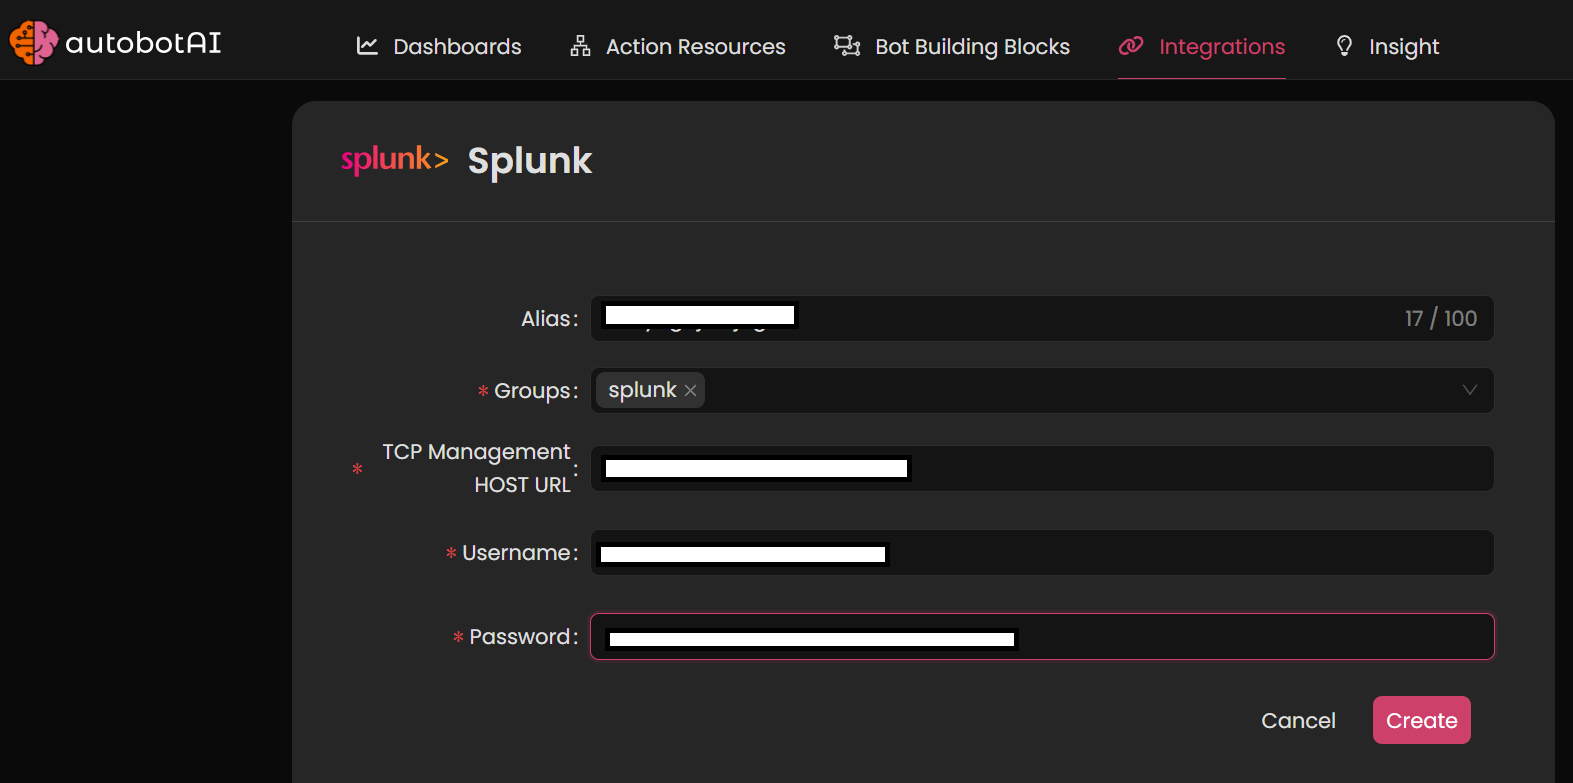
Fill in the required fields as follows:
Note: Fields marked with an asterisk (*) are mandatory.
- Alias: Provide a meaningful name or alias for this integration.
- Groups: Use groups to organize multiple integrations, similar to how labels work in email systems.
- TCP Management HOST URL: Enter the URL for the Splunk TCP Management host, typically the IP or hostname where your Splunk instance receives data inputs.
- Username: The username for authenticating with your Splunk instance.
- Password: The password for the above username to allow secure access to Splunk.

Step 4:
After creating the integration, locate it under Integrations. Click on the three dots next to it, select Test, and ensure your integration is configured correctly with autobotAI.
Additional Information
How to Retrieve Splunk Credentials
To connect autobotAI with your Splunk instance, you will need the TCP Management Host URL, username, and password. Here’s how to retrieve them:
-
Log in to Splunk:
Access your Splunk instance at your Splunk web URL (e.g.,http://your-splunk-server:8000) with admin credentials. -
Locate TCP Management Port:
In your Splunk instance, go to Settings > Data Inputs > TCP. Find or configure the port that listens for data inputs. -
Create or Verify User Account:
In Settings > Access Controls > Users, create a new user with the necessary roles, or verify an existing user with access to the required data. -
Copy the TCP Management Host URL:
This is typically in the formathttp://<splunk_host>:<tcp_port>.
With the TCP Management Host URL, username, and password, you’re ready to integrate Splunk with autobotAI.
After setup, test the integration to verify connectivity and ensure Splunk functions correctly within autobotAI.