Kubernetes
Overview
The Kubernetes integration enables autobotAI to connect with Kubernetes clusters, allowing you to automate the management of containerized applications, monitor cluster performance, and streamline deployment processes. This guide provides instructions to set up the Kubernetes integration in your autobotAI account.
By setting up this integration, you can leverage Kubernetes' orchestration capabilities within AutobotAI to enhance DevOps workflows and improve resource management.
Prerequisites
Before starting, ensure you have:
- Access to the Kubeconfig file for your Kubernetes cluster, which includes the necessary credentials and configuration details for cluster access.
- The required permissions for the Kubernetes resources you intend to manage.
Steps to Set Up Kubernetes Integration
Step 1:
Go to the Integrations page by selecting Integrations in the menu. Click the + Add Integration button located in the top-right corner to view available integrations.

Step 2:
From the list under Agent Based section, select Kubernetes + Add to create the Kubernetes integration.

Step 3:
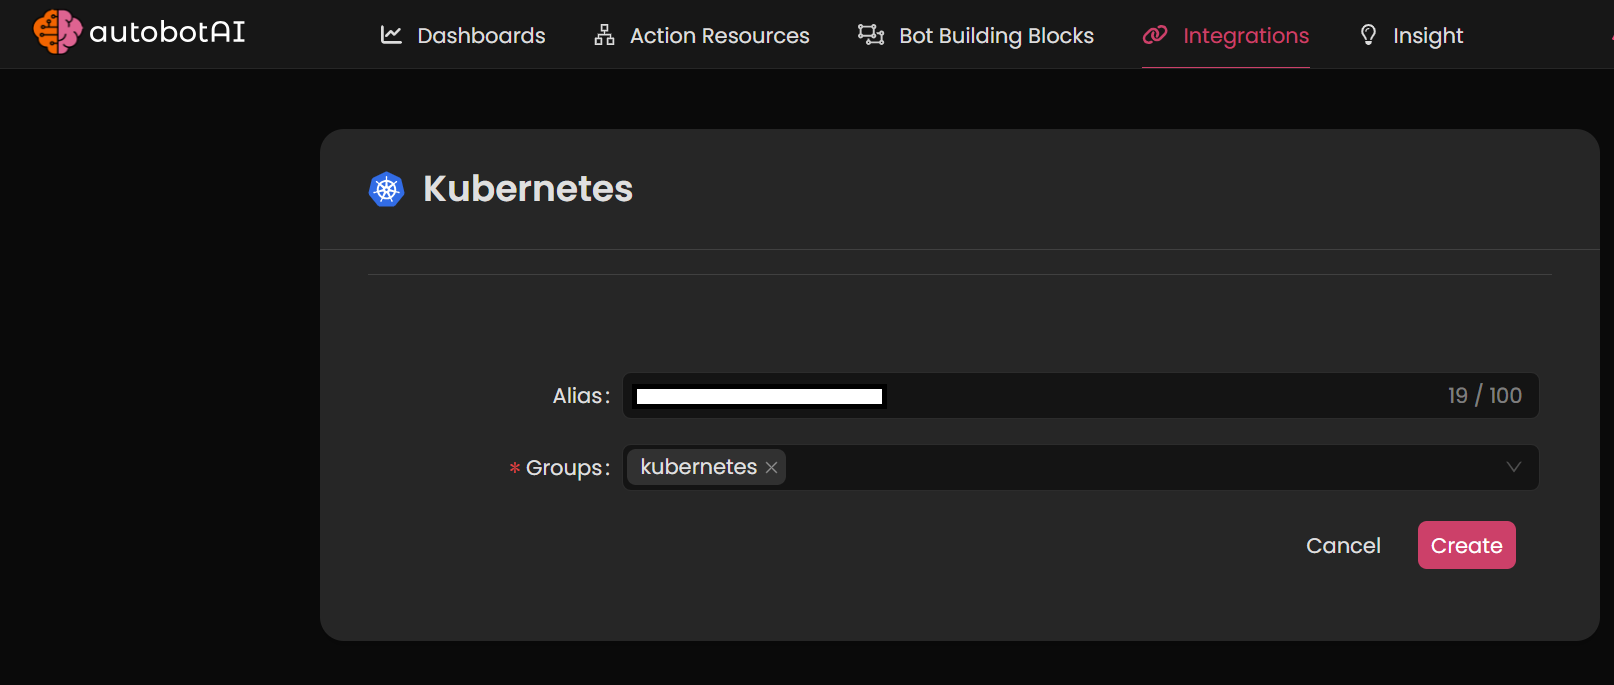
Fill in the required fields as follows:
Note: Fields marked with an asterisk (*) are mandatory.
-
Alias: Provide a meaningful name or alias for this integration.
-
Groups: Use groups to organize multiple integrations, similar to labels.
-
Kubeconfig: Upload the Kubeconfig file containing the credentials for your cluster.

Double-check the information, then click Create to complete the integration.
Step 4:
Once the integration is created, locate it under Integrations. Click on the three dots next to it, select Test, and ensure your integration is configured correctly with autobotAI.
