Git
Overview
The Git integration allows autobotAI to connect with your Git repositories for version control and collaboration. This integration facilitates automation of development workflows, enabling actions on code changes, managing pull requests, and synchronizing code across environments. Setting up the Git integration connects your Git account to autobotAI for streamlined workflow management.
This guide provides instructions to set up Git integration in your autobotAI account.
Prerequisites
Before starting, ensure you have:
- A Git account with appropriate access permissions to repositories you want to connect.
Steps to Set Up Git Integration
Step 1:
Navigate to the Integrations page by selecting Integrations in the menu. Click the + Add Integration button located in the top-right corner to view available integrations.

Step 3:
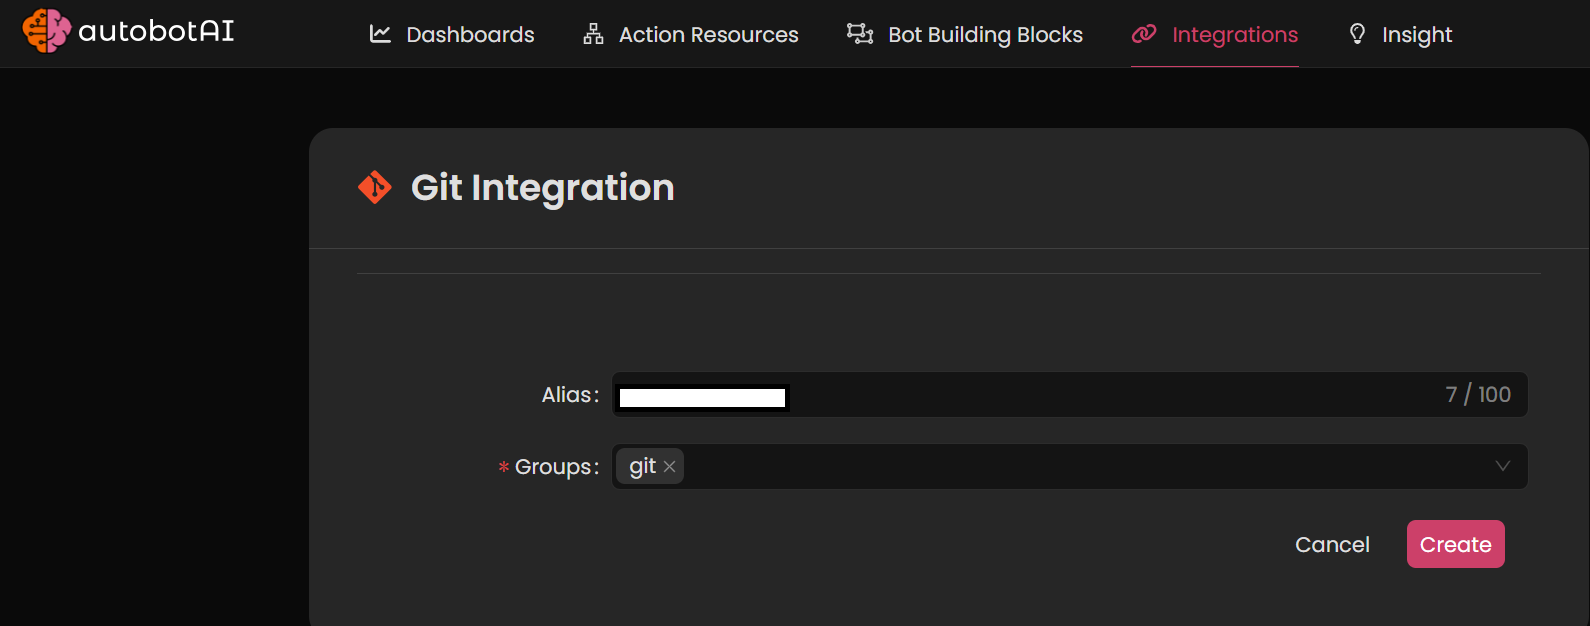
Fill in the required fields as follows:
Note: Fields marked with an asterisk (*) are mandatory.
- Alias: Provide a meaningful name or alias for this integration.
- Groups: Use groups to organize multiple integrations, similar to how labels work in email systems.
 Double-check the information, then click Create to complete the integration.
Step 4:
After creating the integration, locate it under Integrations. Click on the three dots next to it, select Test, and ensure your integration is configured correctly with autobotAI.
With your Git account connected, you’re ready to integrate your version control workflows with autobotAI.

