autobotAI Kubernetes Agent
Overview
The autobotAI Kubernetes Agent is part of the autobotAI suite, offering both code and no-code solutions to interact with Kubernetes clusters and their resources. This agent allows users to perform various actions on cluster resources, such as retrieving information or creating resources, making it ideal for a wide range of automation tasks. Additionally, the Kubernetes Agent supports compliance benchmarks, enabling users to schedule regular compliance checks on the cluster. The results of these checks are accessible in the dashboard insights, providing visibility into compliance status.
Prerequisites
- Kubernetes Integration: Ensure you have the necessary integrations set up.
- Cluster Access: Ensure that you have access to the Kubernetes cluster where you want to deploy the agent.
- Network Access:
- Ensure your Kubernetes environment has internet access, specifically over port 443 (HTTPS).
- Purpose:
- To pull the agent image during setup.
- To enable the agent pod to function, as the agent cannot operate without internet connectivity.
Agent Permissions
- The agent uses a Kubernetes
ClusterRoleto interact with the cluster. - By default, this role is configured with read-only permissions across all API groups.
- If you plan to perform write operations on cluster resources, ensure to update the manifest file to include the necessary permissions.
Supported Platforms
The autobotAI Kubernetes Agent is built as a multi-architecture container image, ensuring compatibility across different processor architectures.
- Supported Architectures:
amd64(x86_64)arm64(AArch64)
This allows seamless deployment across various Kubernetes environments, including both x86-based and ARM-based infrastructures
Network Policy
The autobotAI Kubernetes Agent deployment includes an optional Kubernetes NetworkPolicy resource to improve pod-level security by controlling network traffic to and from the agent.
What is a NetworkPolicy?
A NetworkPolicy is a Kubernetes resource used to define ingress and egress traffic rules for pods. It helps enforce network segmentation and restricts unwanted communication within the cluster.
Note:
This NetworkPolicy is optional and will only take effect if a supported network policy provider is enabled in your cluster.
Supported Providers
To enforce network policies, your cluster must have a compatible policy provider enabled. Supported providers include:
- Calico
- Cilium
- Azure Network Policies
Behavior of the Provided NetworkPolicy
The provided policy does the following:
- Denies all incoming traffic to the agent pod — protects it from unauthorized access.
- Allows only outbound traffic to:
TCP 443 (HTTPS)– required for external API communication.UDP 53 (DNS)– required for DNS resolution within the cluster.
How to Install the Agent?
-
Add a New Kubernetes Integration
- Log in to autobotAI.
- Go to the Kubernetes integration page at Kubernetes Integration.
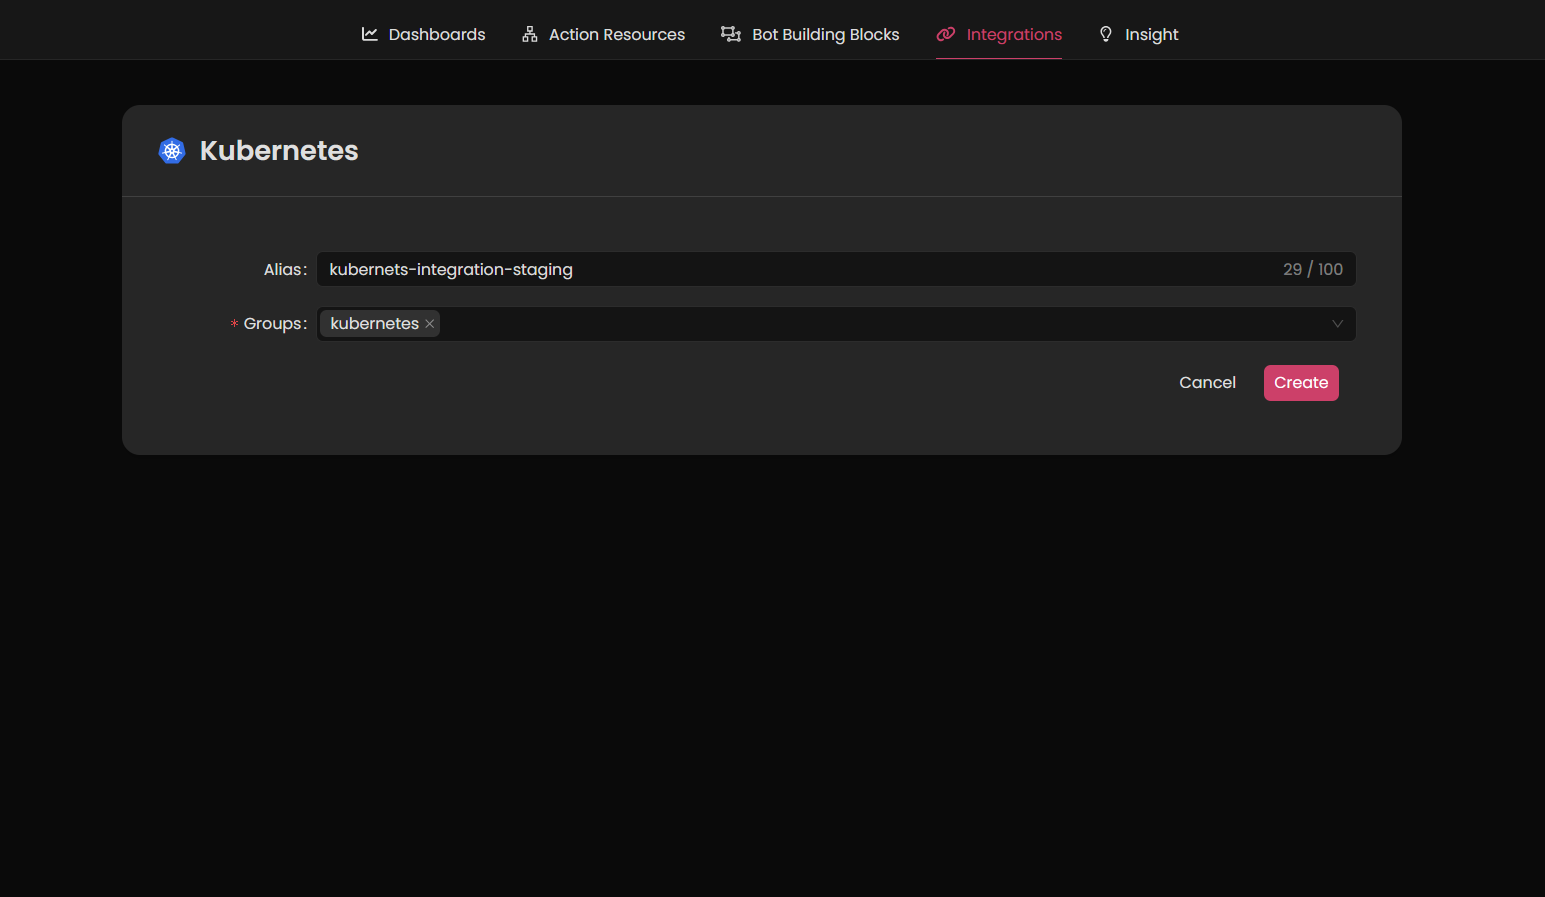
- Add a new Kubernetes integration by providing the integration name and group, then click 'Create.'
-
Add an Agent
- On the next page, add an agent by providing a name in the designated field.
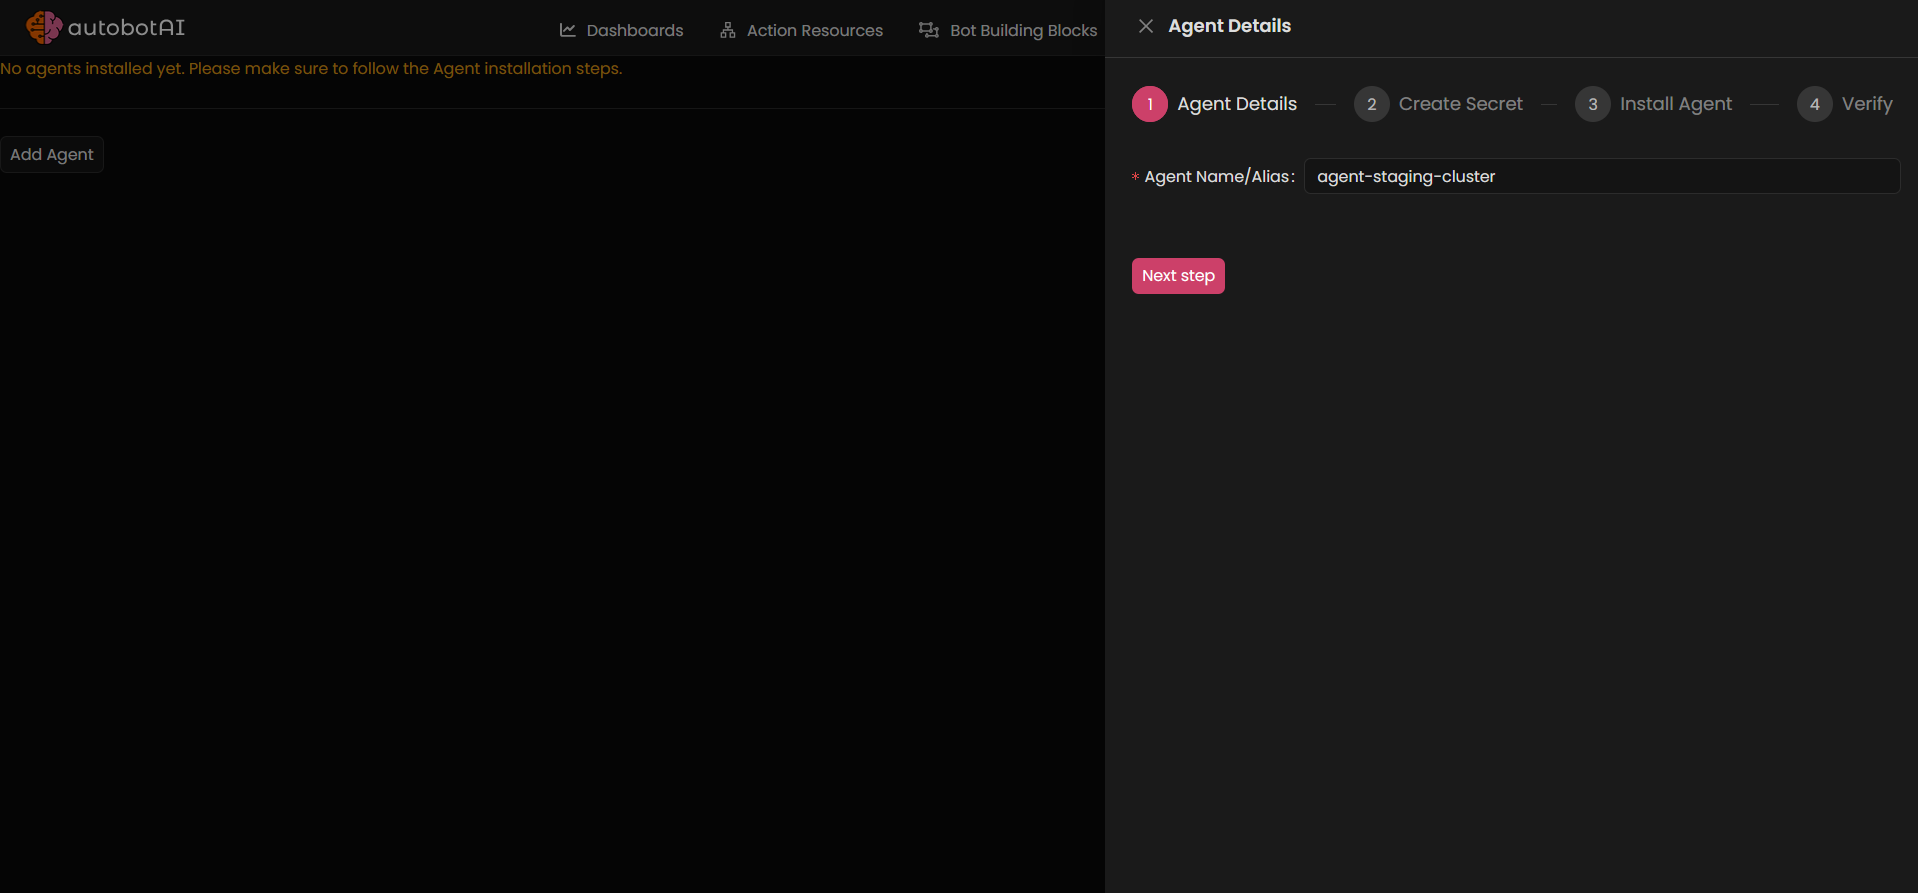
- On the next page, add an agent by providing a name in the designated field.
-
Generate Credentials
- Click "Next Step" to generate a single
kubectlcommand that contains the necessary Kubernetes secrets. Copy this command and save it securely, as it will be needed in the next steps.
- Click "Next Step" to generate a single
-
Download Agent Deployment File
- You can download the agent deployment file by clicking on the Download link.
- Local Download: Click the Download link and save the file locally.
- Remote Download: Right-click on the Download link, select "Copy link address," and then use the following
wgetcommand to download the file on a remote server:bashwget <paste-link-address-here>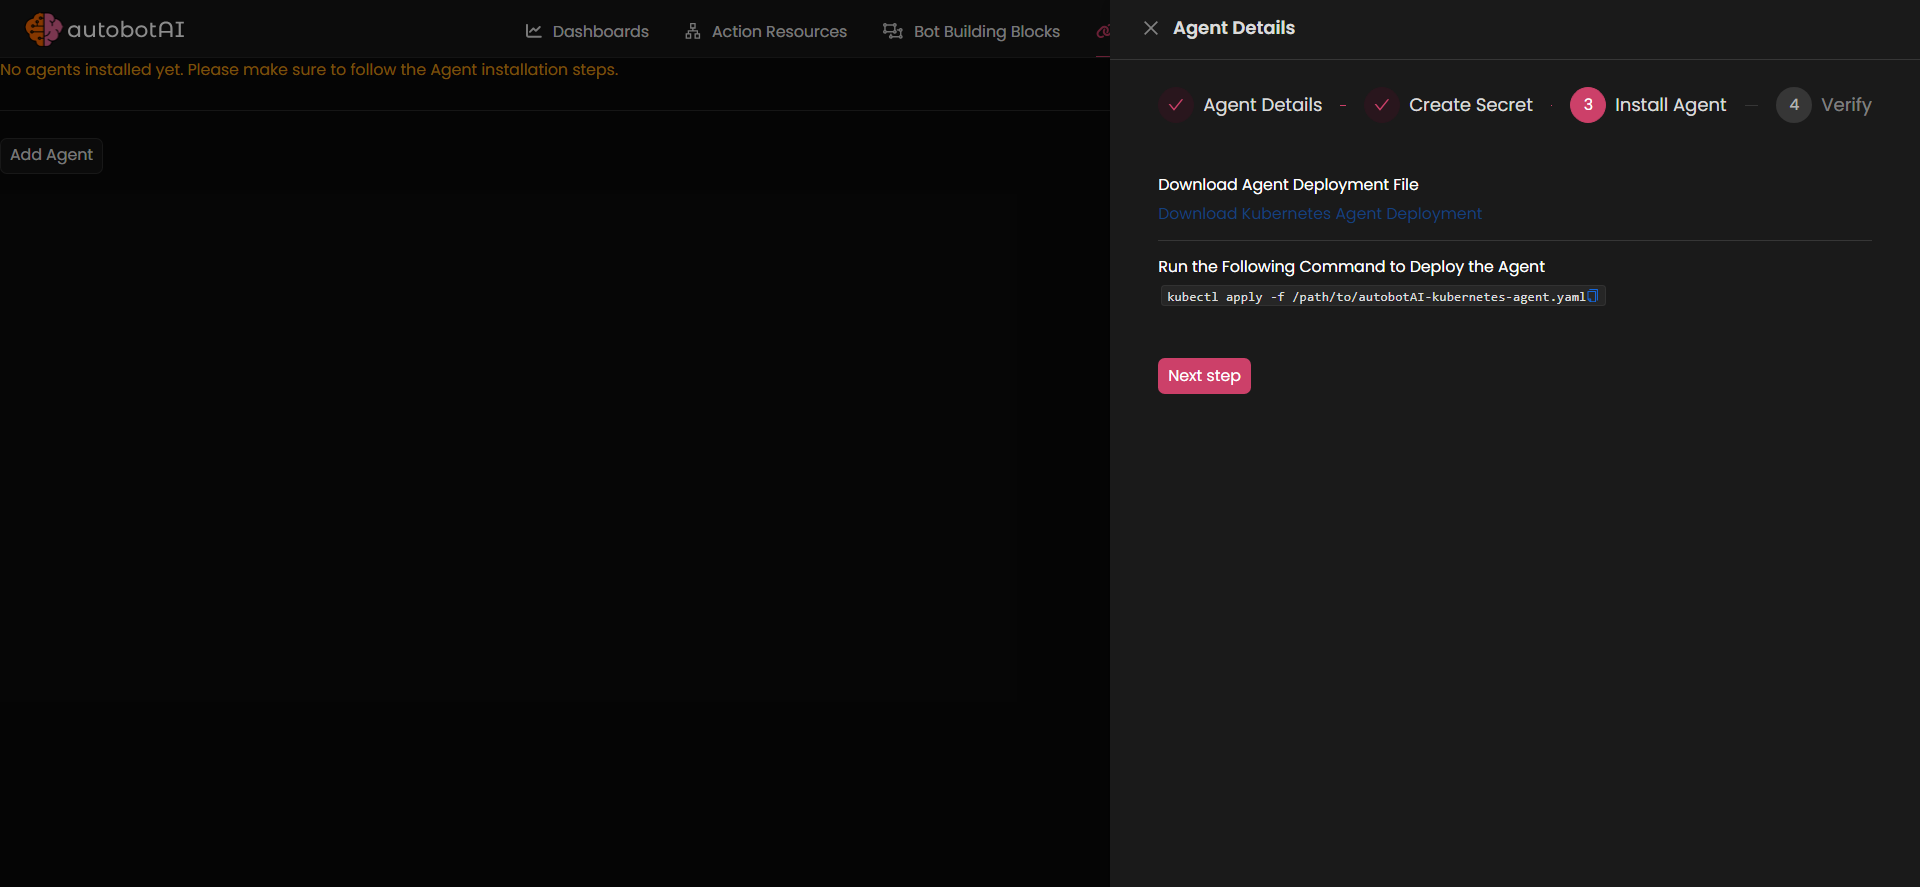
- You can download the agent deployment file by clicking on the Download link.
-
Deploy the Agent
- First, run the command copied from Step 3 to create the required Kubernetes secrets for the agent credentials.
- Once the secrets are created, deploy the agent by running the following command to apply the agent deployment file to your cluster:
bash
kubectl apply -f /path/to/autobotAI-kubernetes-agent.yaml
-
Verify Installation
- To verify that the agent has been successfully deployed, run:
bash
kubectl get pods -w - Confirm that the autobotAI agent pod status is Running.

- To verify that the agent has been successfully deployed, run:
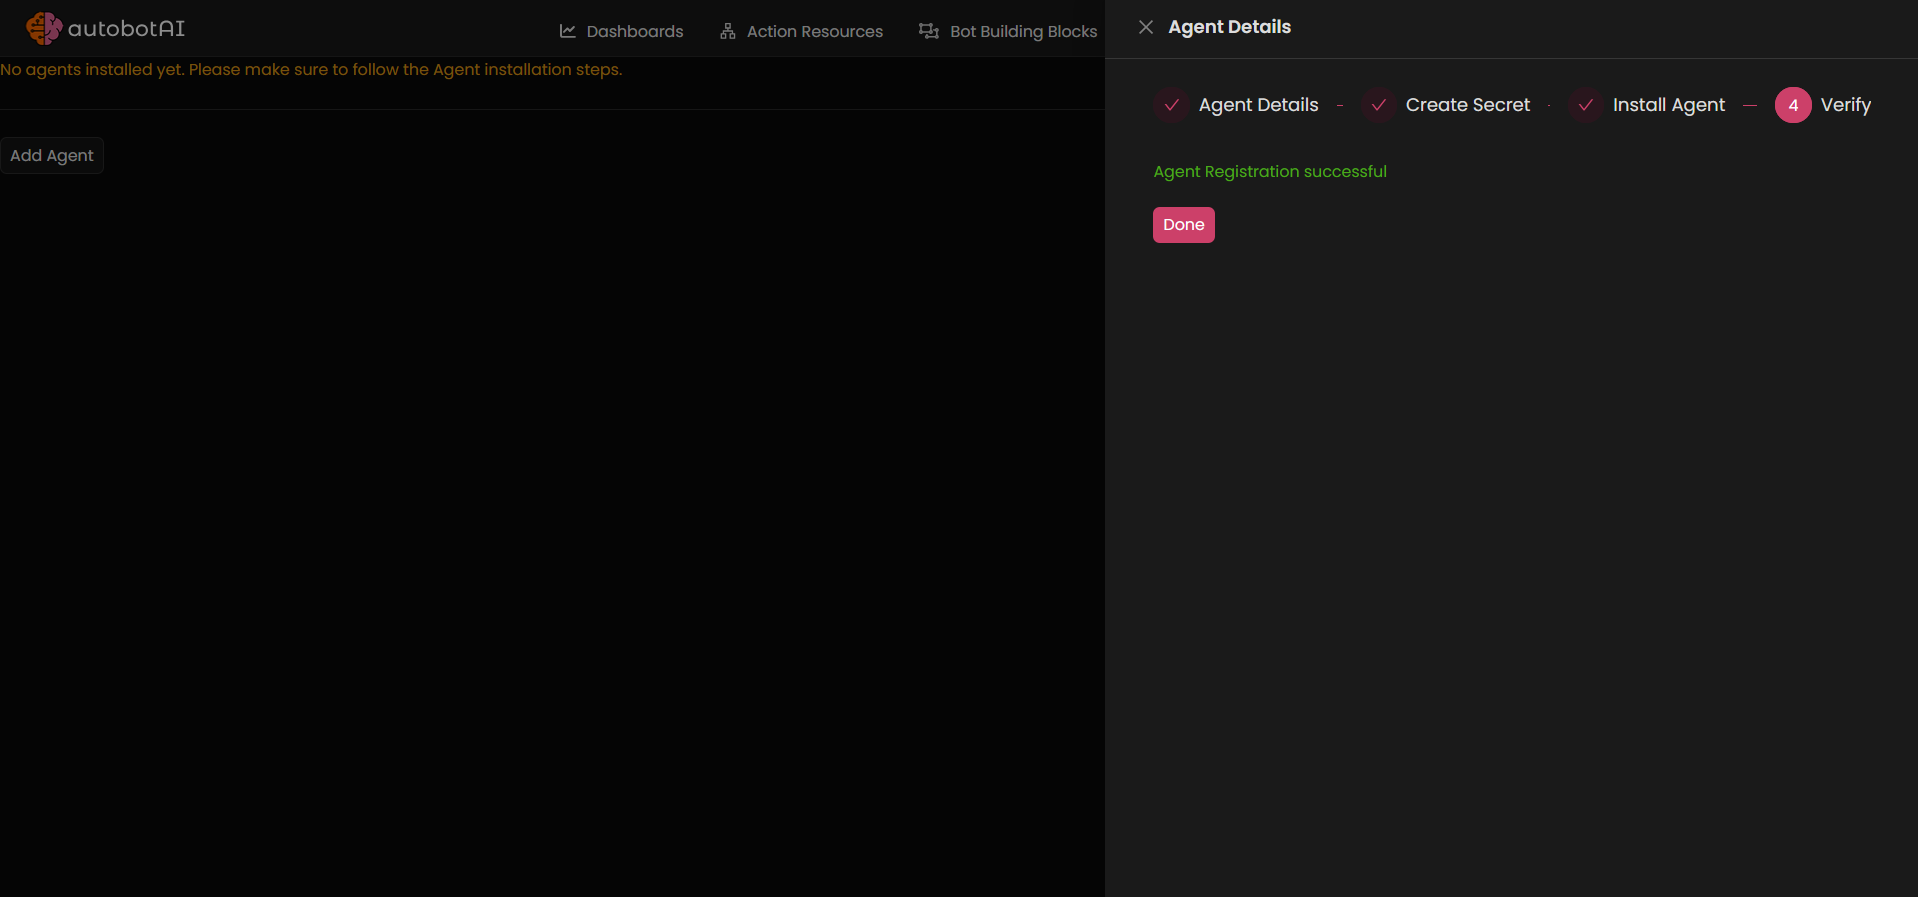
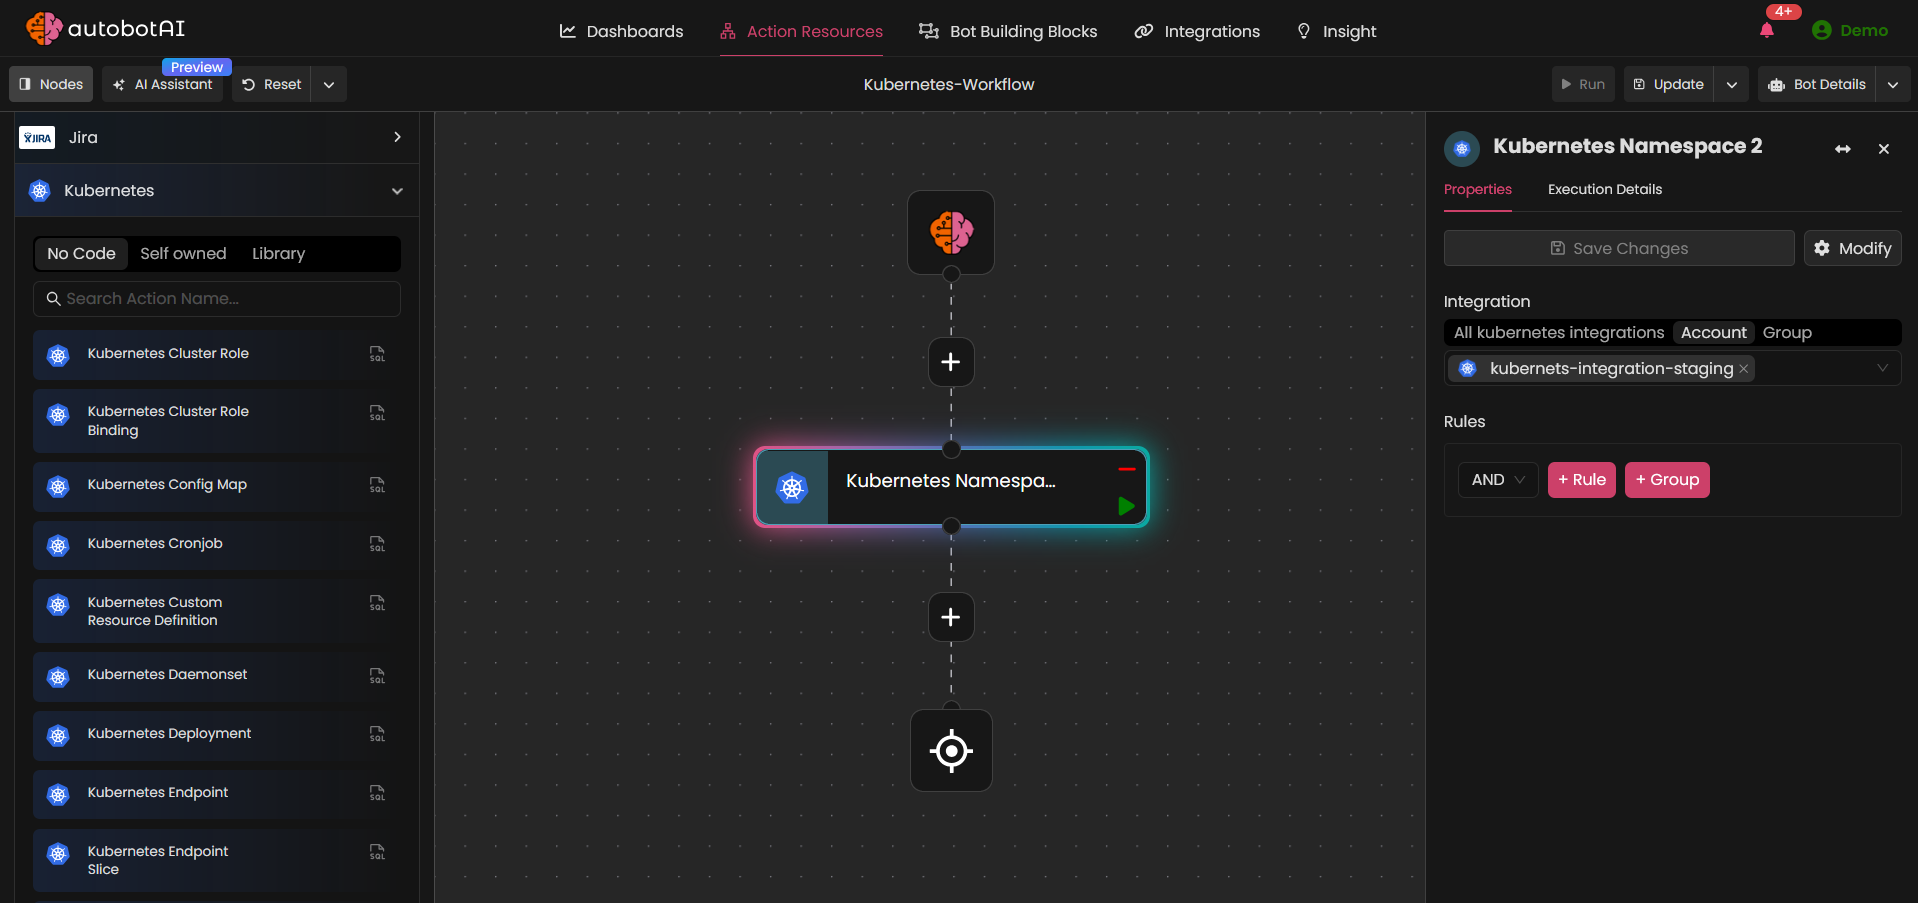
- After completing these steps, the agent will be added to the Kubernetes integration, and a message confirming successful registration will appear. You can now begin using this integration in your automation workflows, such as the no-code example below to retrieve namespaces information.
Kubernetes Actions
Kubernetes Actions are predefined operations executed via the autobotAI Kubernetes Agent, enabling users to perform various command-line operations on Kubernetes clusters within automation workflows.
Kubernetes Actions are powered by AI, allowing you to leverage AI capabilities to streamline tasks like generating Kubectl CLI commands.
We currently support the following Kubernetes actions:
Update Agent
To update the autobotAI Kubernetes agent and ensure it is running the latest version, run the following command:
bashkubectl rollout restart deployment/autobotai-k8s-agent-deployment
Note:
If you are using self-hosted container registries, in order to update the agent to the latest version, you must pull our latest image from the public ECR repository and push it to your private registry each time a new version is available, before running the rollout command.
Public ECR Repository
Example: Pulling an image for a specific architecture:
Use the --platform flag to pull a container image targeting a specific CPU architecture:
bashdocker pull <image:latest>
Uninstall/Remove Agent
To uninstall the autobotAI Kubernetes agent and remove all its associated deployment resources, run the following command:
bashkubectl delete -f /path/to/autobotAI-kubernetes-agent.yaml"
Troubleshooting
1. Check Agent Pod Status
To verify the current status of the autobotAI Kubernetes agent pod, use the following command:
bashkubectl get pods -l app=autobotai-k8s-agent
2. View Agent Pod Details
To inspect detailed information about the agent pod, including events and configurations, use the following command:
bashkubectl describe pod -l app=autobotai-k8s-agent
3. Analyze Agent Pod Logs
To view the logs for the autobotAI Kubernetes agent pod, use the following command:
-
Get the Pod Name
First, list the pods to find the name of the agent pod:bashkubectl get pods -l app=autobotai-k8s-agent -
View Logs for the Pod
To view logs for the pod:bashkubectl logs <pod-name>Replace
<pod-name>with the actual pod name.Additional Options:
-
-f(follow): Stream logs in real-time.bashkubectl logs -f <pod-name>
-
