Cyberark Identity
Overview
The Cyberark Identity integration allows autobotAI connect with your Cyberark Identity account for secure authentication, centralized user management and automated access control. CyberArk Identity is a cloud-based IAM platform that secures user identities with strong authentication, centralized access control, and automated lifecycle management. It provides features like SSO, MFA, and policy-based security to protect both workforce and privileged accounts.
This guide provides instructions for setting up CyberArk Identity integration in your autobotAI account.By completing this process, you will connect your CyberArk Identity Account and its associated resources to the platform.
Prerequisites
Before starting, ensure you have:
- A CyberArk Identity Account with the necessary administrative privileges
Steps to Set Up CyberArk Integration
Step 1:
Navigate to the Integrations page by selecting Integrations from the menu. Click the + Add Integration button in the top-right corner to view available integrations.

Step 2:
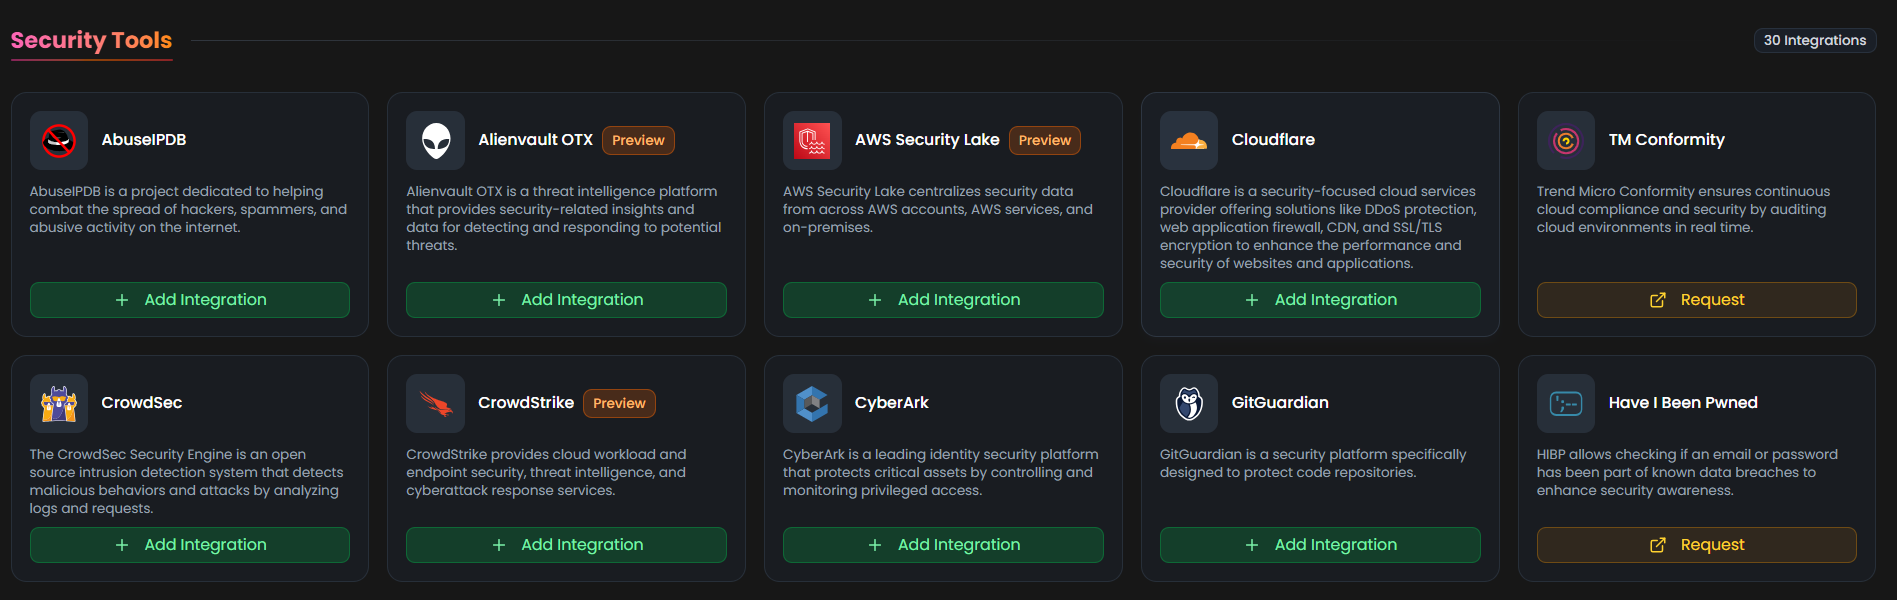
From the list, under Security Tools section, select Cyberark + Add to create the Cyberark integration.
Step 3:
Fill in the required fields as follows:
Note: Fields marked with an asterisk (*) are mandatory.
- Alias : Provide a meaningful name or alias for this integration.
- Groups : Use groups to organize multiple integrations, similar to how labels work in email systems.
- CyberArk Identity URL : Enter your CyberArk Identity tenant URL (for example: https://yourtenant.id.cyberark.cloud)
- ClientId : Enter the Client ID of the user that has been marked as an OAuth confidential client (not your admin username)
- Client Secret : Enter the Password of the user that has been marked as an OAuth confidential client (not your admin password).
Verify the information, then click Create to complete the integration.

Step 4:
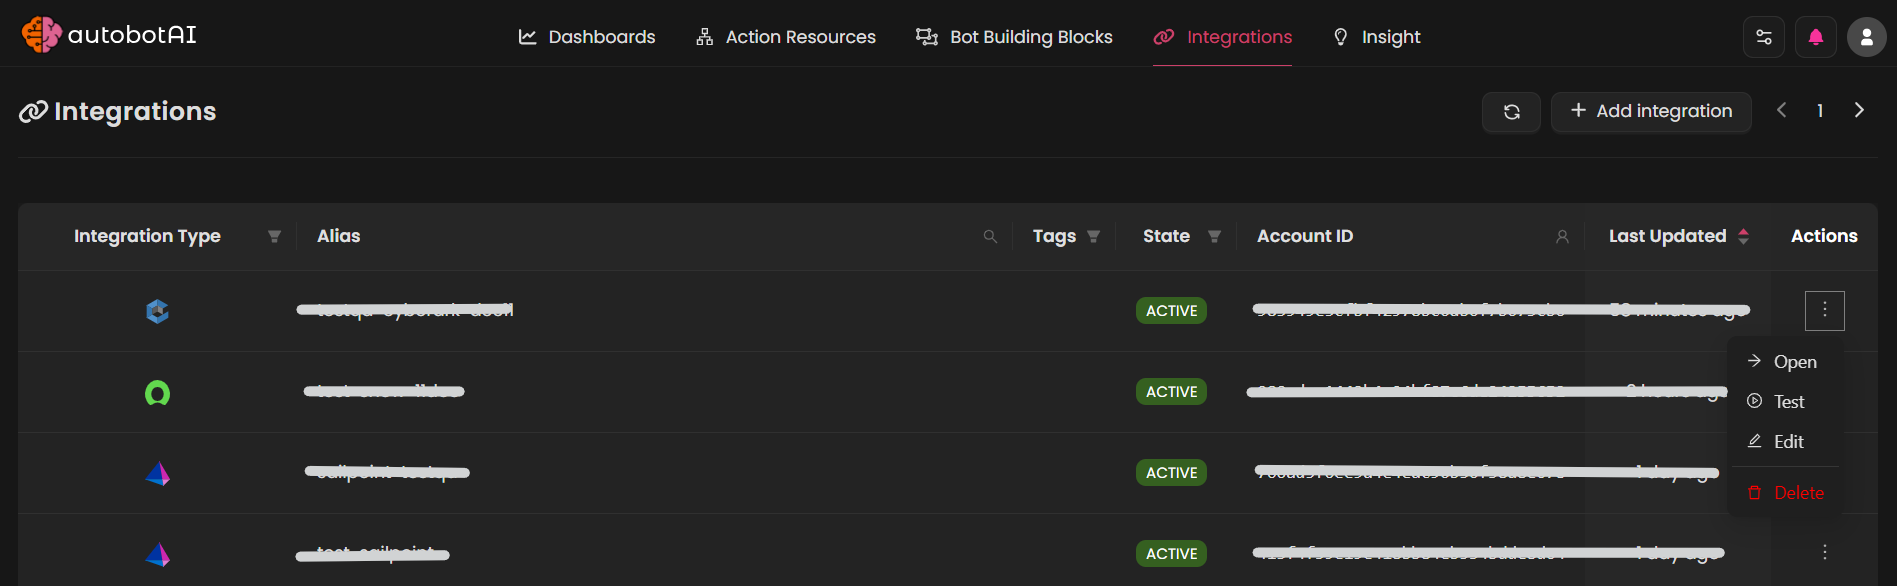
After the integration is successfully created, locate it under Integrations. Click on the three dots on the left side and select Test to ensure your integration is properly configured with autobotAI.
Additional Information
How to get OAuth client ID and client secret:
To generate a OAuth client, follow these steps:
-
Log in to CyberArk:
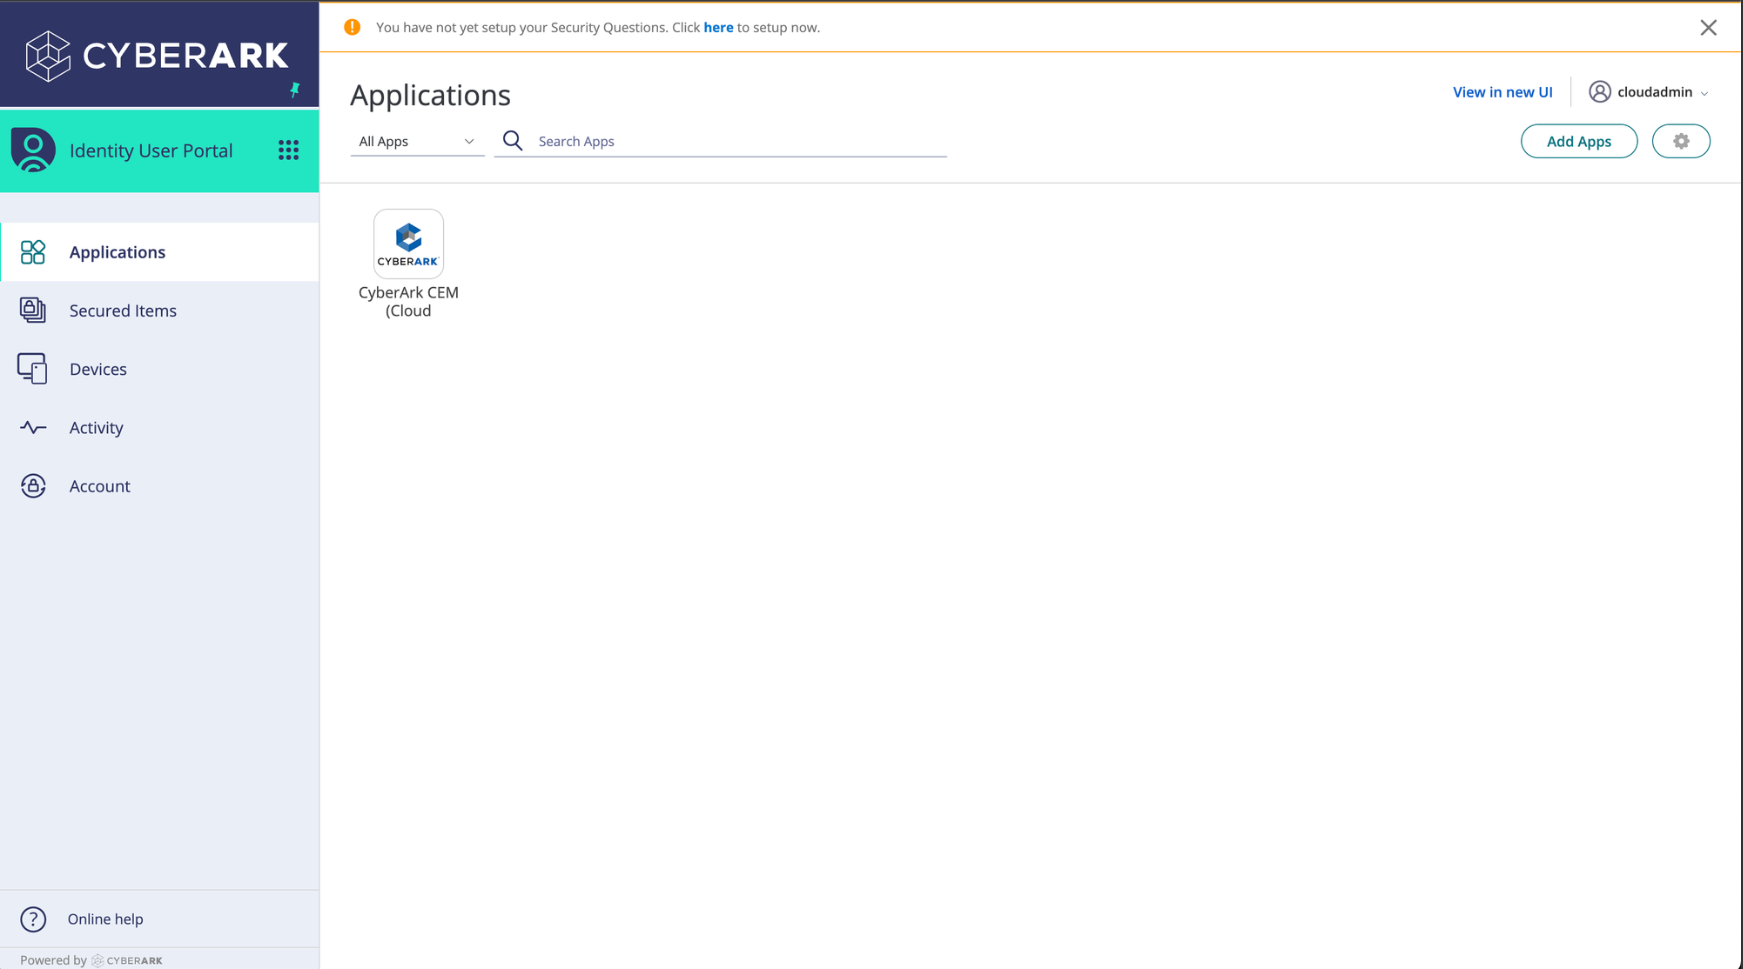
Log in to your CyberArk portal via your organization’s tenant URL.-
The portal home page should look something like this:
-
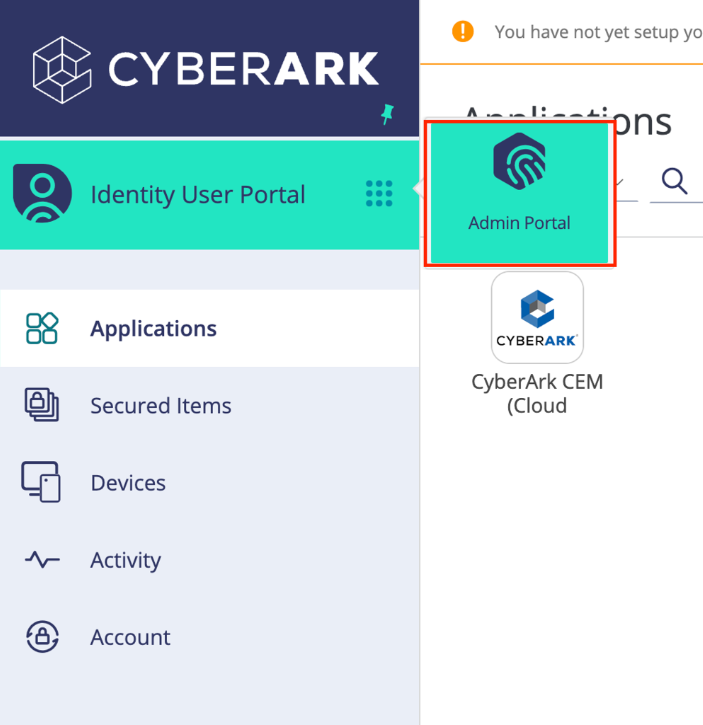
Switch to the admin portal view by clicking on the grid symbol next to Identity User Portal and selecting Admin Portal:
-
-
Create a SCIM Client Role
-
Navigate to Core Services > Roles:
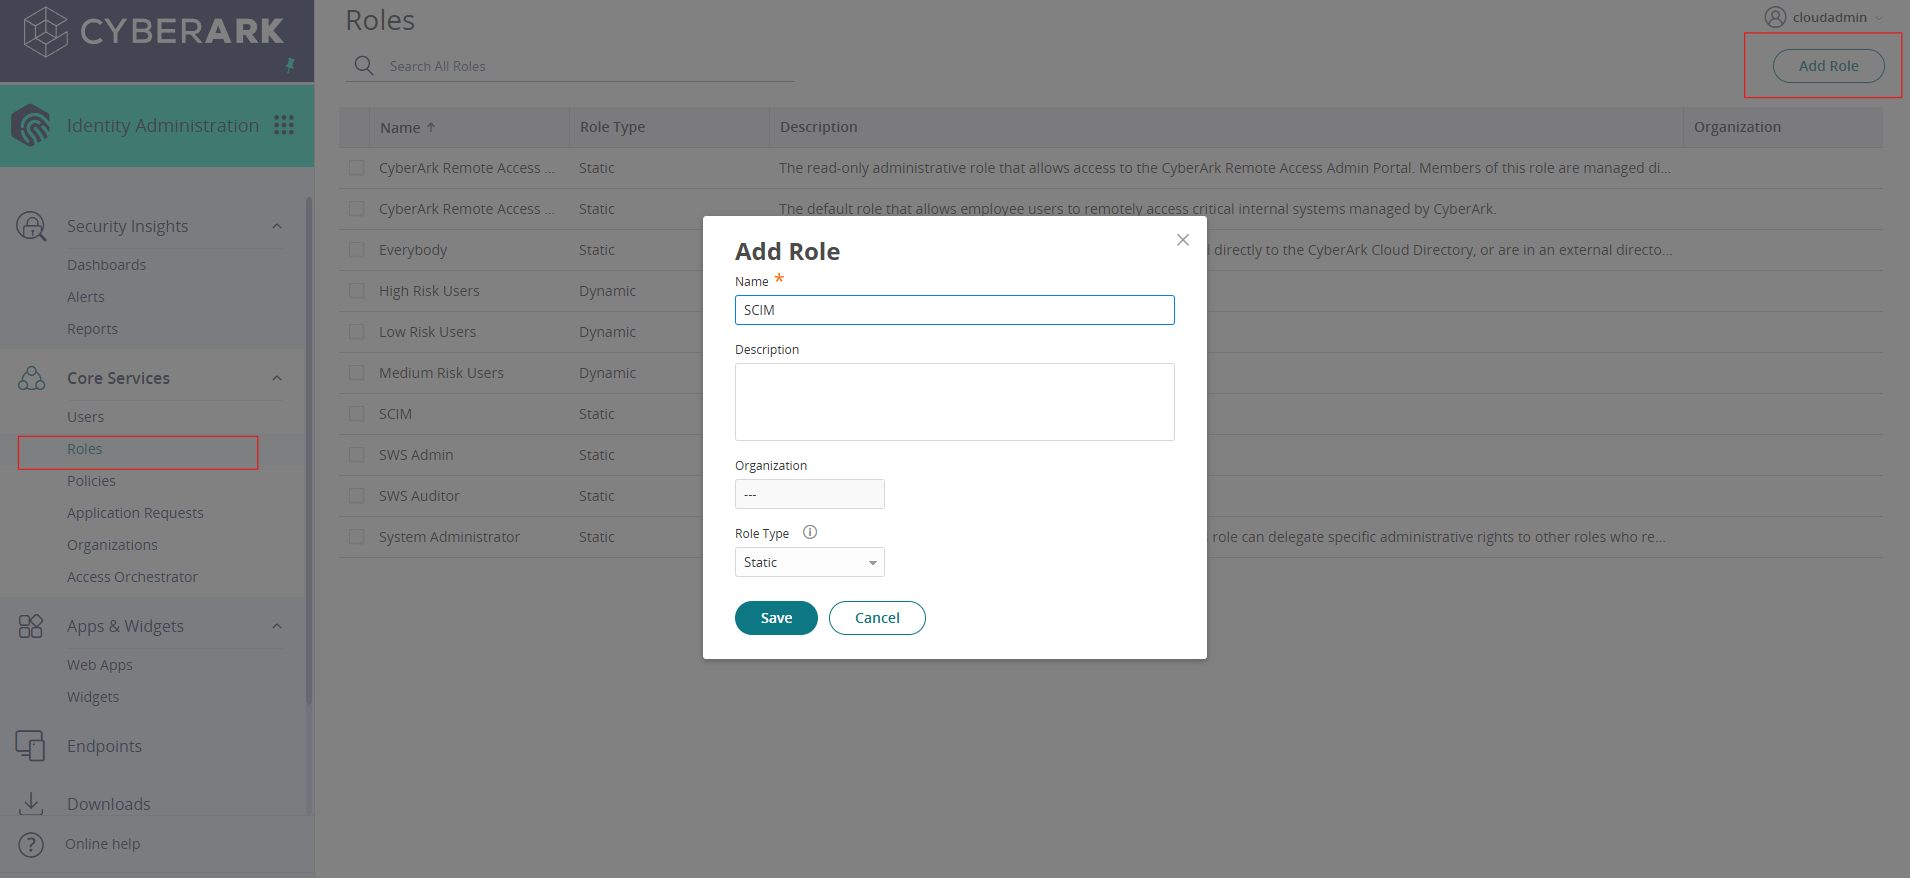
-
Name your role SCIM and click Save. You will be automatically redirected to the settings page for the new role.
-
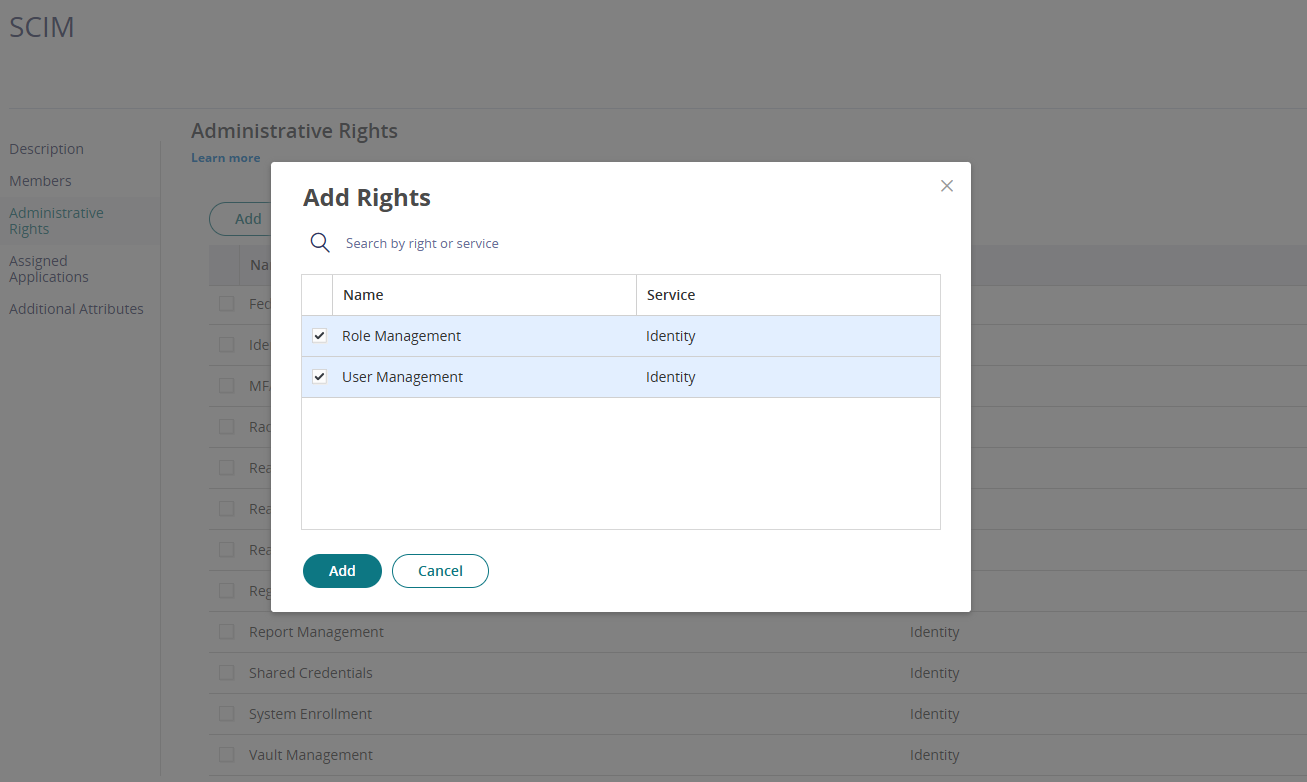
Under Administrative Rights, click Add, search/select the User Management right, and click Save.
-
-
Create Client:
-
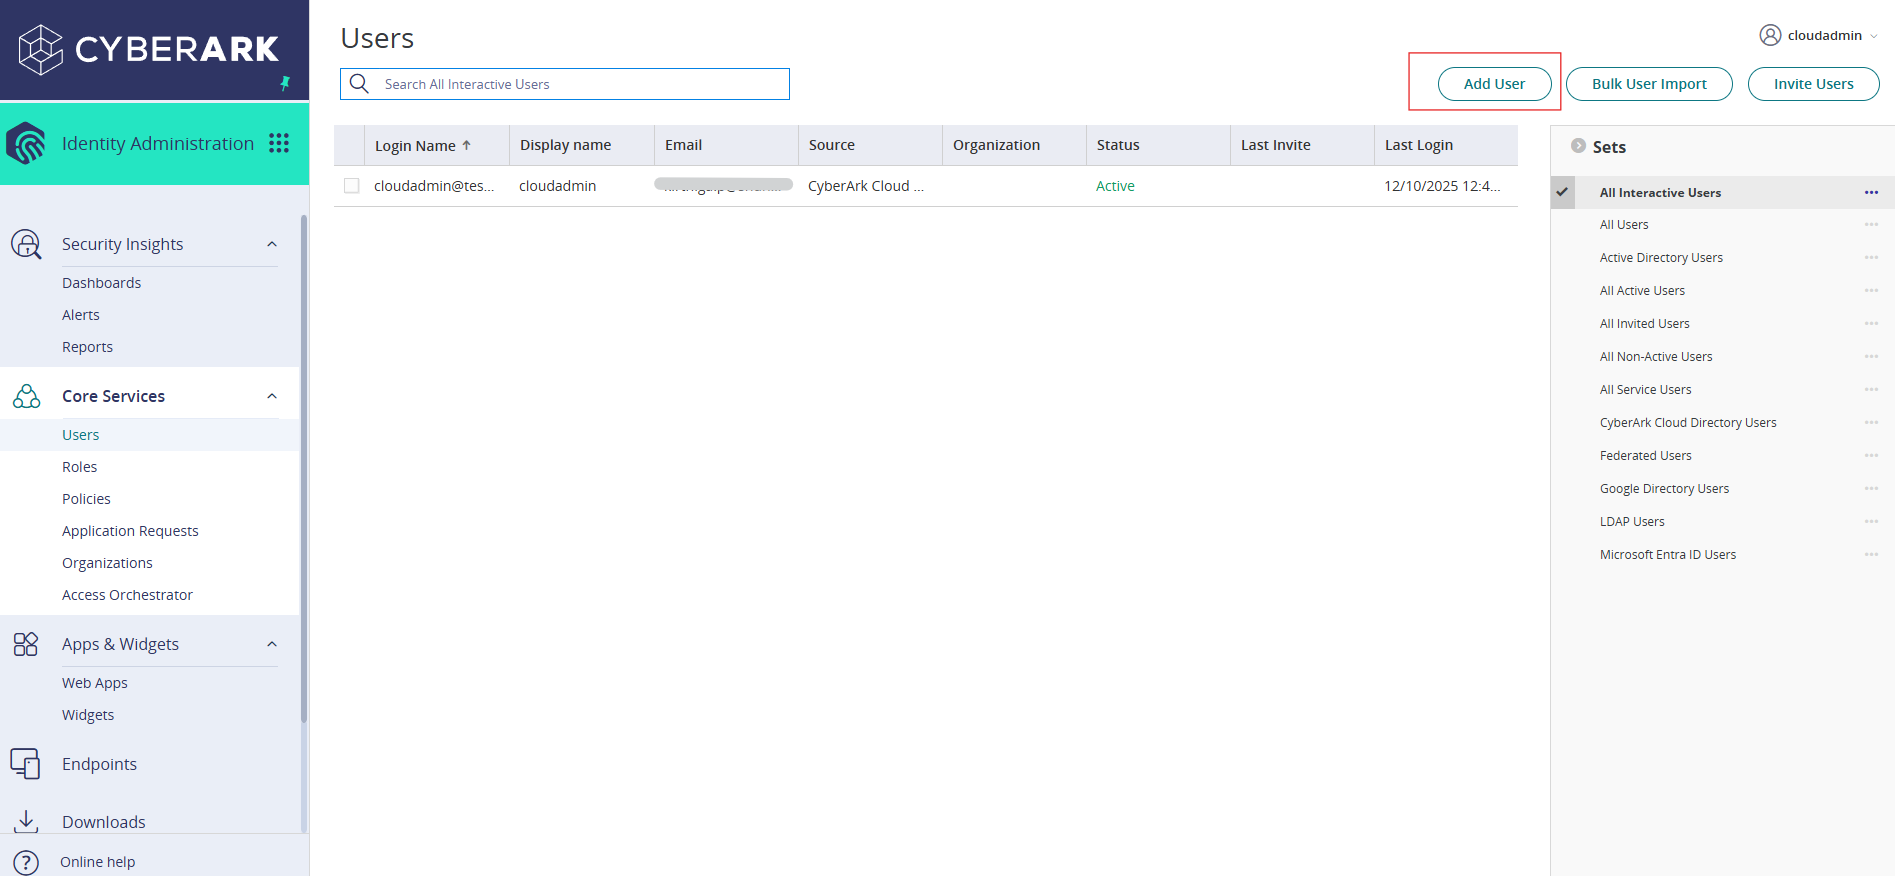
In Identity Administration Dashboard Click Add User button
-
Enter the details of following image:

- Ensure the Is "OAuth Confidential Client" checkbox is selected for this user.
- After filling the details, click the create user button.
-
In the right panel, click All Users to view the user you created.
-
If this user was created specifically as an OAuth client account, its login name will be used as the Client ID and its password will serve as the Client Secret during integration.
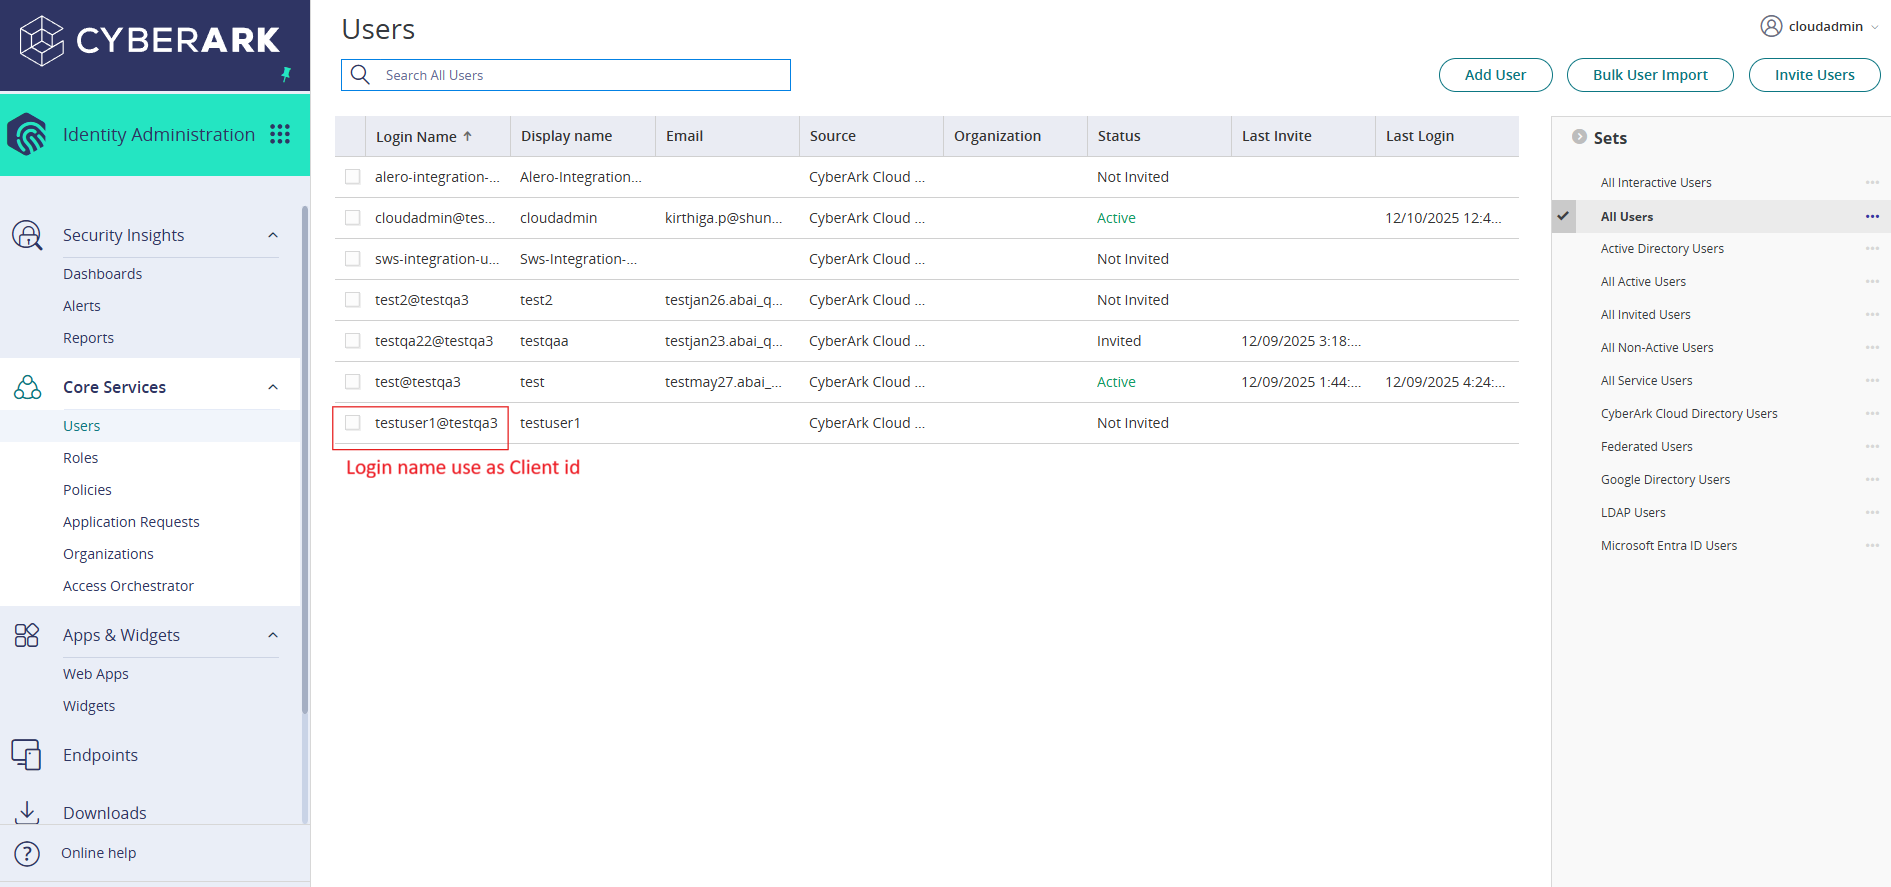
Note: When a user is set as an OAuth confidential client, they will not be able to log in to the CyberArk platform.
-
-
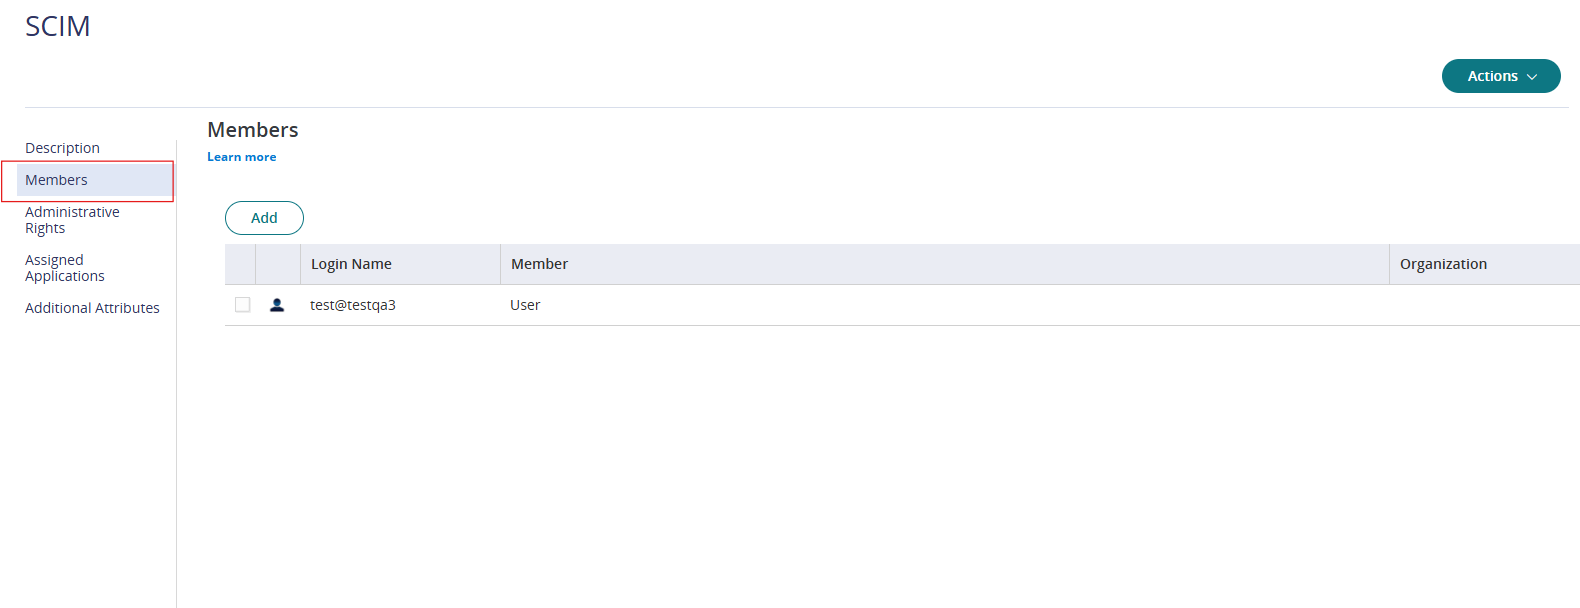
Add Members to the SCIM Role
-
Navigate back to Core Services > Roles and open the SCIM role we created
-
Under the Members section, click Add and then add your newly created user and click save.
-