CrowdStrike
Overview
The CrowdStrike integration allows autobotAI to connect with CrowdStrike's cloud-native endpoint protection platform, enabling automated threat detection, incident response and real-time security monitoring across your organization's devices and workloads.
This guide provides instructions for setting up CrowdStrike integration in your autobotAI account.By completing this process, you will connect your CrowdStrike Account and its associated resources to the platform.
Prerequisites
Before starting, ensure you have:
- A CrowdStrike account with the necessary administrative privileges
Steps to Set Up CrowdStrike Integration
Step 1:
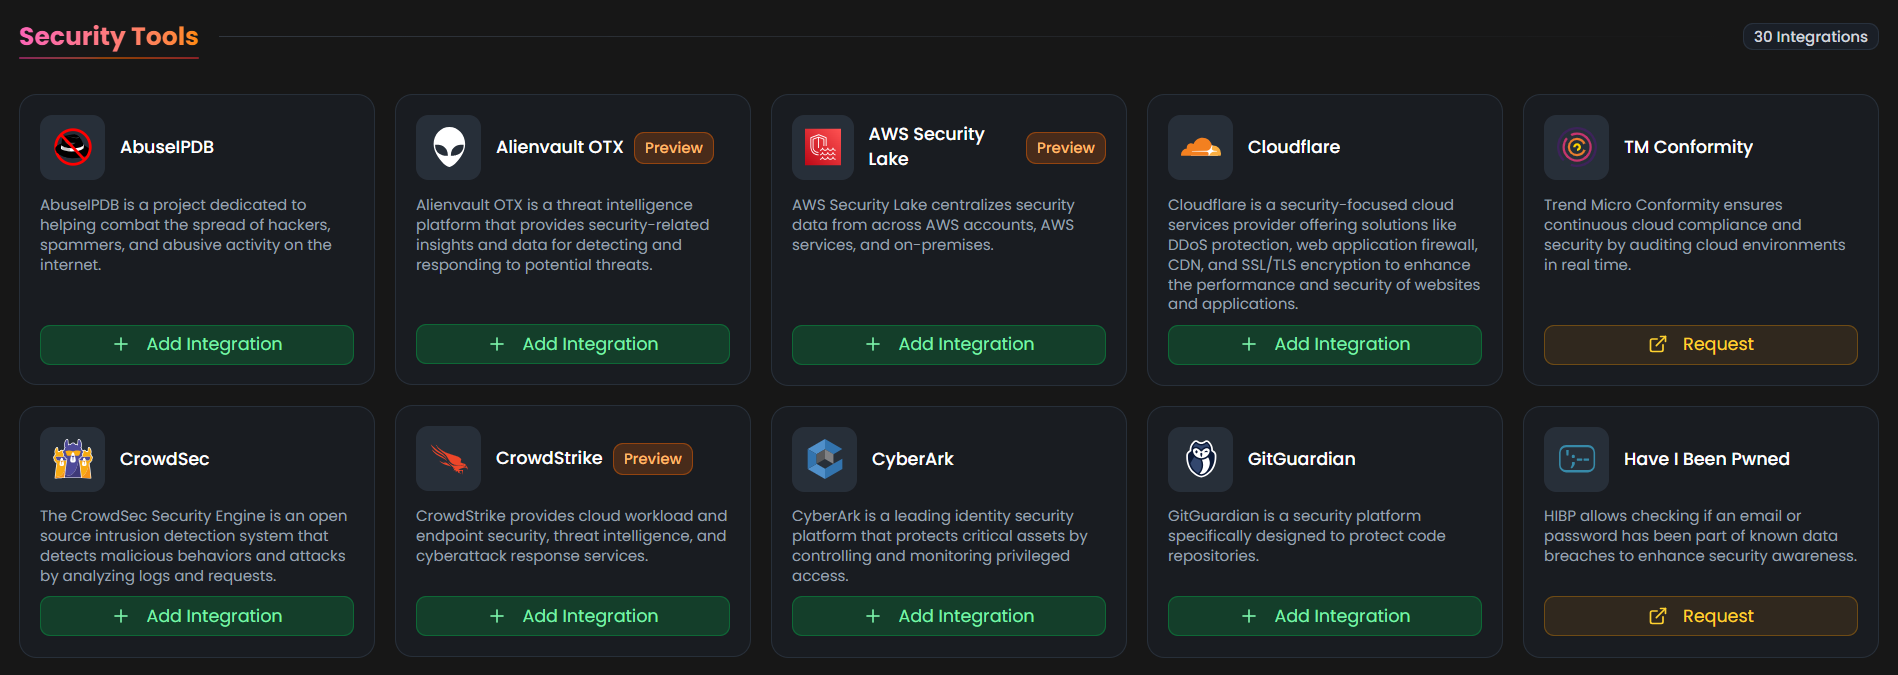
Navigate to the Integrations page by selecting Integrations from the menu. Click the + Add Integration button in the top-right corner to view available integrations.

Step 2:
From the list, under Security Tools section, select CrowdStrike + Add to create the CrowdStrike integration.
Step 3:
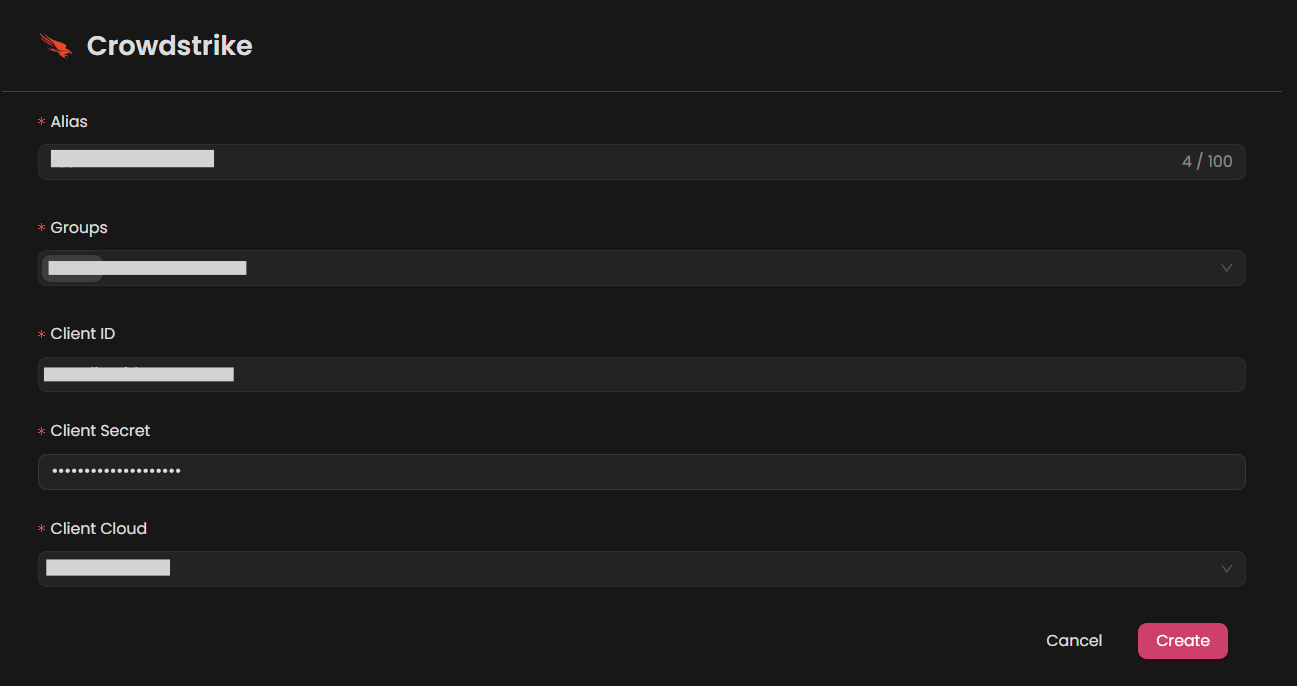
Fill in the required fields as follows:
Note: Fields marked with an asterisk (*) are mandatory.
- Alias : Provide a meaningful name or alias for this integration.
- Groups : Use groups to organize multiple integrations, similar to how labels work in email systems.
- ClientId : Enter the Client ID of CrowdStrike
- Client Secret : Enter the Client Secret of CrowdStrike
- Client Cloud: Select your CrowdStrike cloud region
Verify the information, then click Create to complete the integration.
Step 4:
After the integration is successfully created, locate it under Integrations. Click on the three dots on the left side and select Test to ensure your integration is properly configured with autobotAI.

Additional Information
How to Retrieve Client Id and Client Secret
-
Log in to CrowdStrike:
- Log in to your organization's CrowdStrike Falcon portal as an administrator.
-
Get the Client Id and Client Secret:
-
From the navigation menu, click Support and resources, and then click API clients and keys.
-
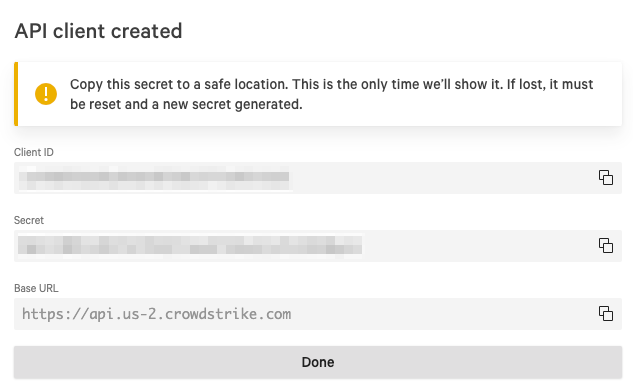
Click Create API client
- The Create API client window displays
-
Fill out the Client name, Description, and select the appropriate API scopes for the user.
-
Click Create
-